Jesus String Art


What you'll need:
6'x10' plywood|500 long nails|2-4 bundles of yarn|Paint or large canvas drop cloth to cover board.
...less yarn if you're only using one color, more if you're doing multicolor.
The story:
This concept was born from PINTEREST. If you're not already pinning, just get on it, ok? You need an invite? Leave me a message w/ your email & I'll send you a invite!
See the original blog post, HERE.

These step by step instructions are great & I'm dying to do it in my kids rooms at home. We took them, [the instructions] & adapted them for our large scale project.
We started visualizing the piece on the stage....

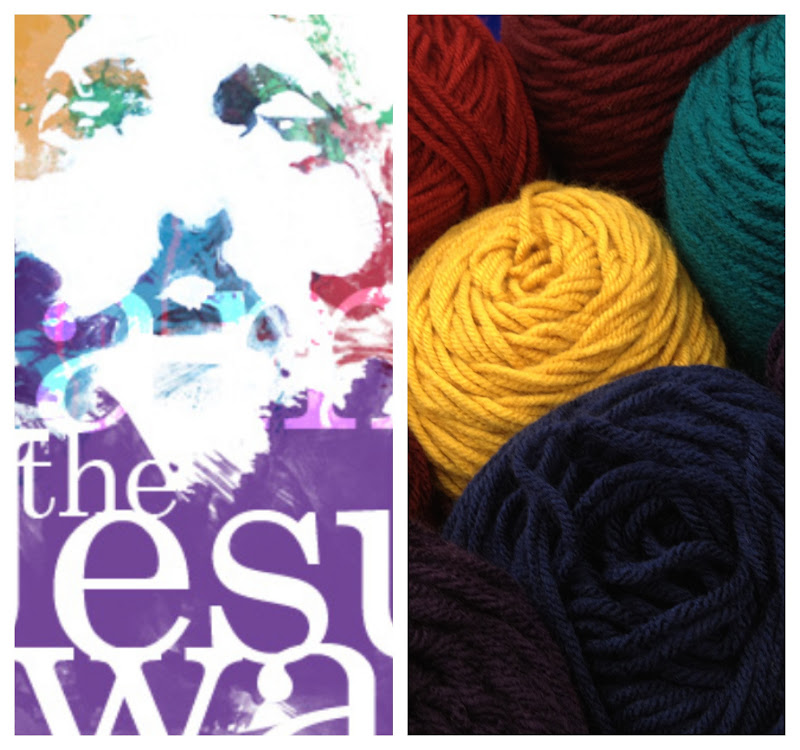
And also the type of script-writing we wanted. Tim started on finding script fonts & sending them out to the team...
Andrew prepped the original 4'x8' plywood board, which ended up way too small.


We started picturing it & we agreed. The board needs to be way, way bigger.
The top piece is 4x8 and the bottom piece is 2x8. We're going to add another piece to the end & make it 6x10.

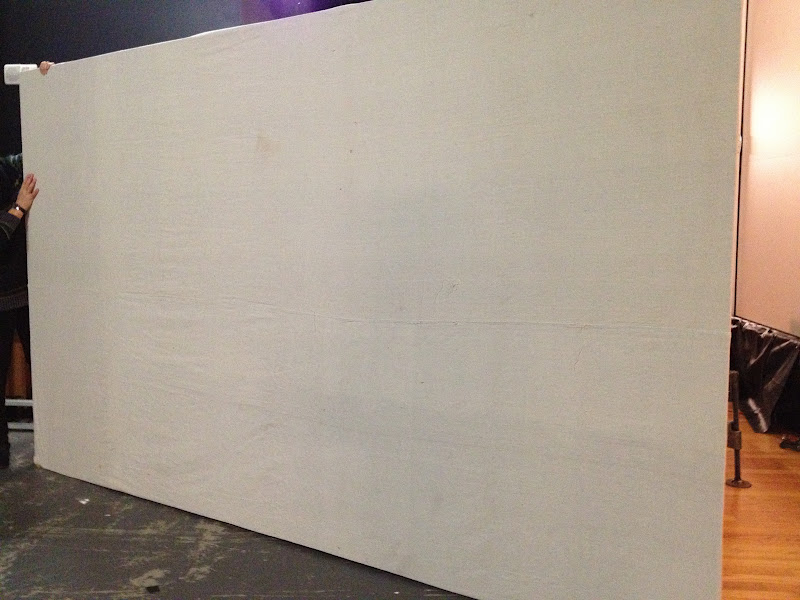
You can see that original white piece..and what was added to it to make it now, 6' x 10'.
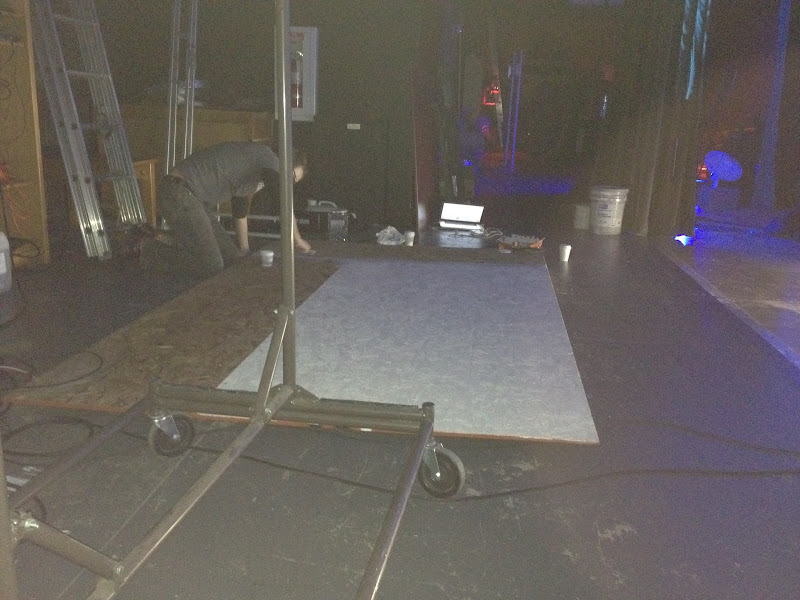
Tim is spackling the board back stage.


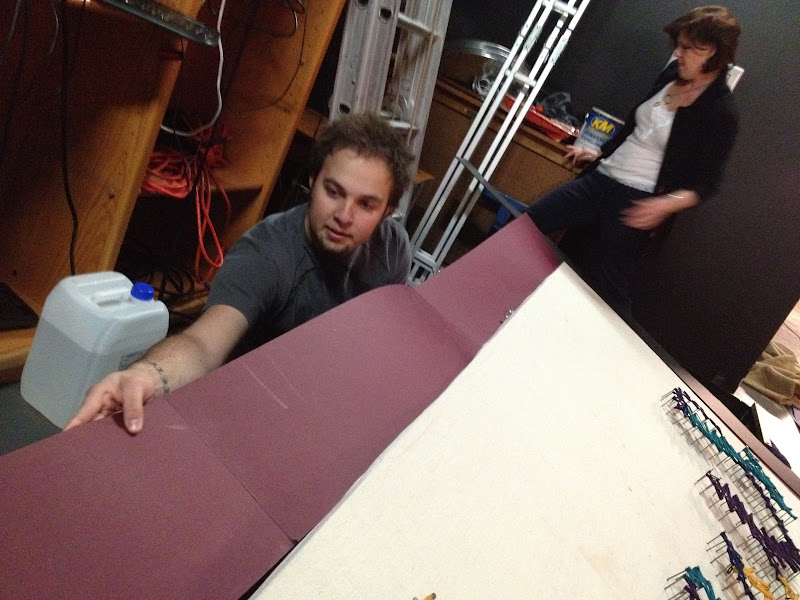
But, then we decided to cover it with canvas...


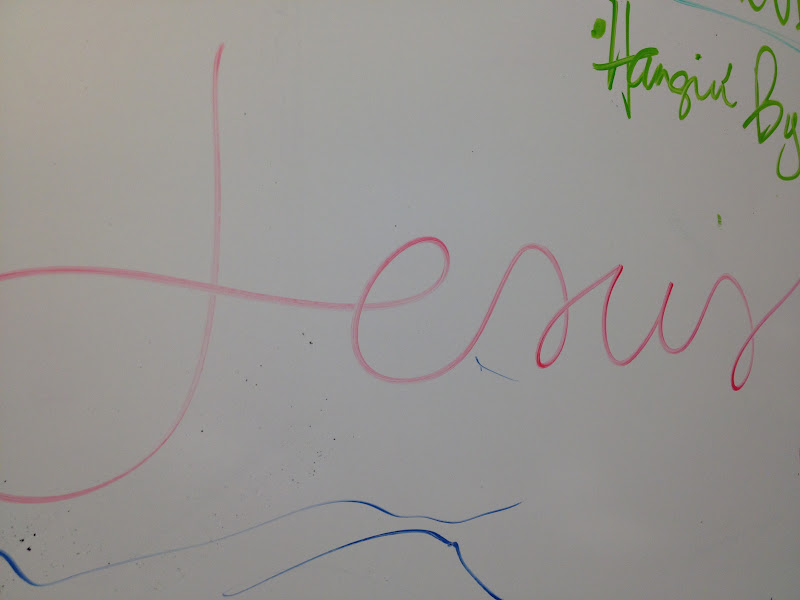
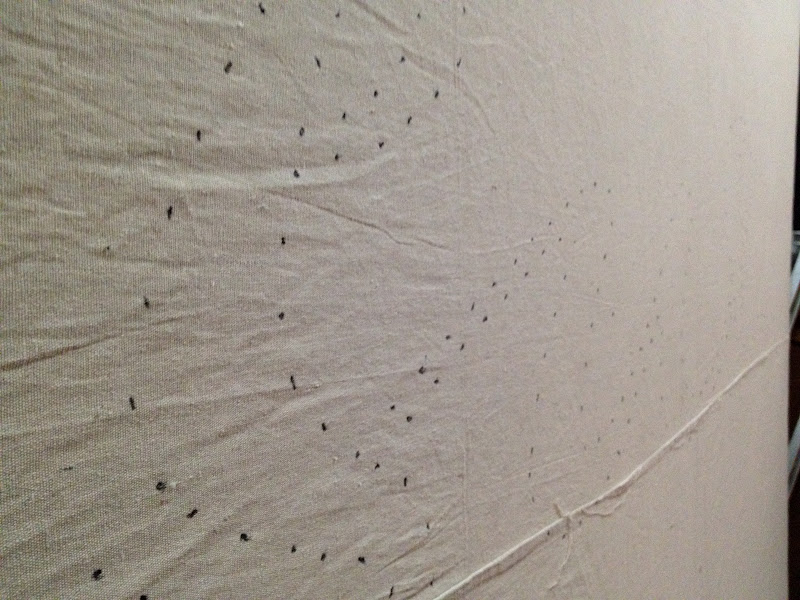
Tim put the font we chose in illustrator & added dots, where the nails will go. We printed it to a transparency to project onto the board.


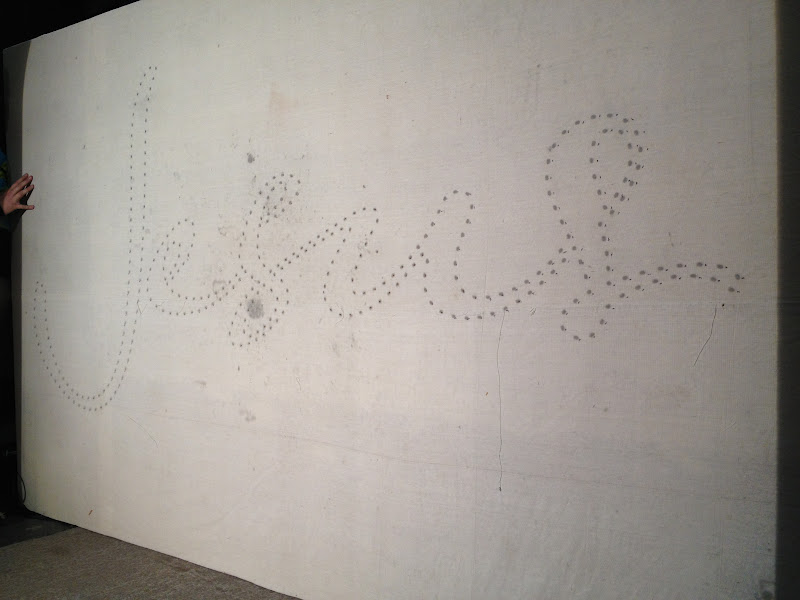
We marked the dots with a sharpie.
[the big, dirty, spots are from the projector. Phew!]
The next morning, I took the image of series artwork on my phone & headed to Hobby Lobby for yarn.
My littlest buddy carrying the yarn for momma..

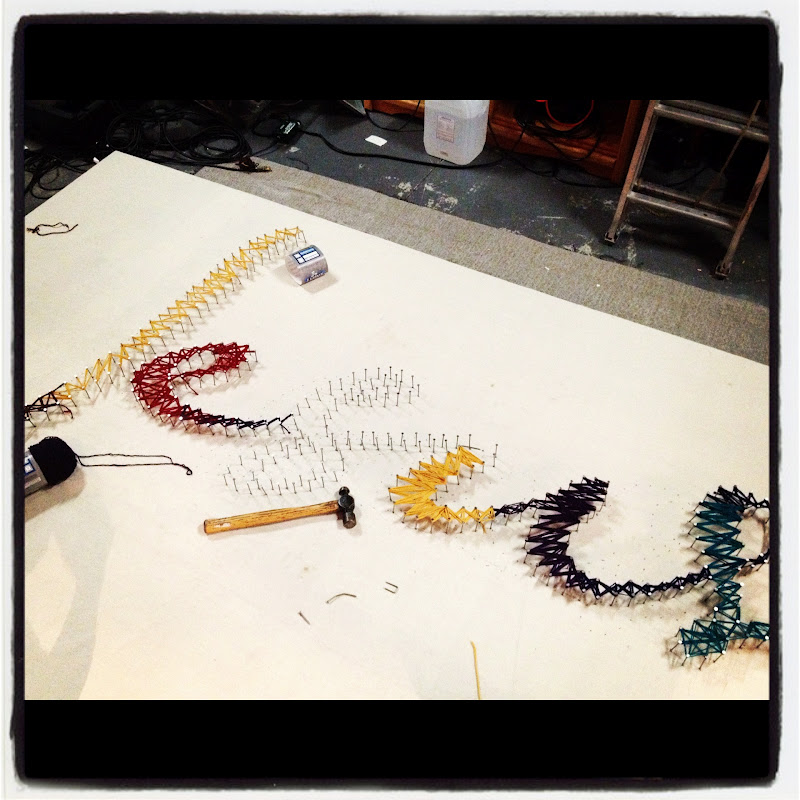
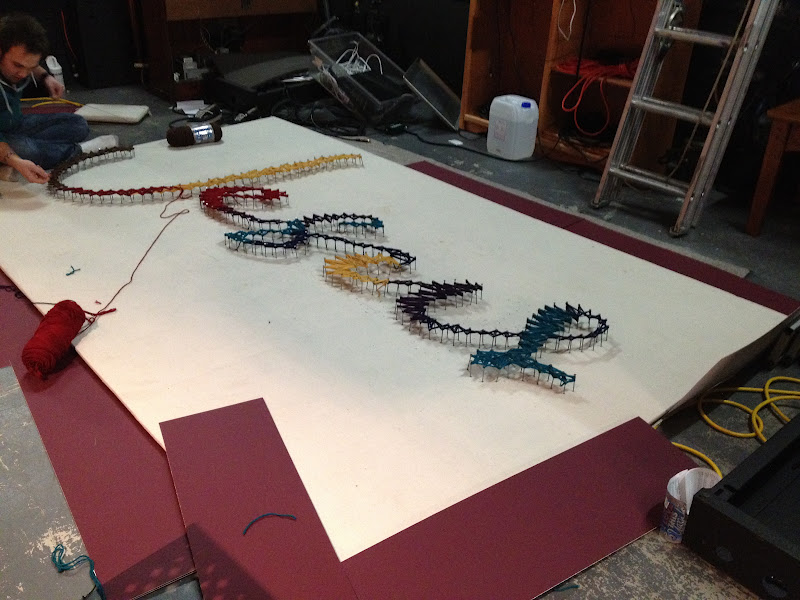
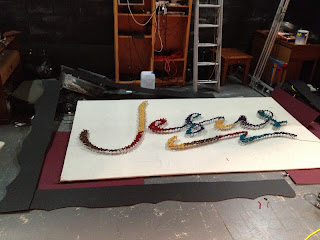
That night, we laid it down & began nailing in the nails on the dots. This part took Layne, Mandy & I about 2 hours of nailing.

You can see old dots behind. We had realized that there was still room to pull the image back further & make the lettering larger. No prob, the old dots aren't visible once the piece was done & hung.

While Layne & I finished the nails, Mandy began stringing the yarn.

Total awesomeness...

My Instagram of Jesus-String-Art coming along...

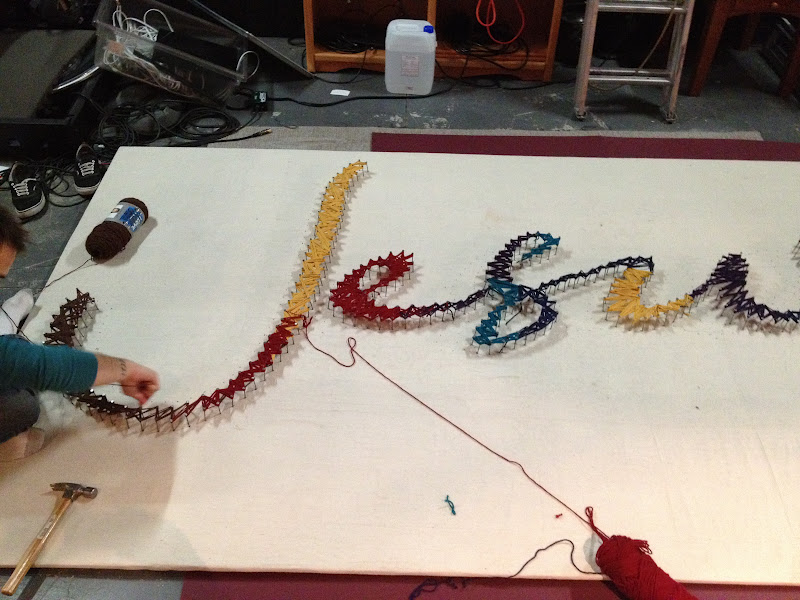
I started stringing the yard at the last "s."


Next day....Mattes. Although larger than 6'x10' would have been great. It would be hard to do anything with a piece that big when we're done with it on stage. I wanted us to keep it to a size that didn't have to be destroyed afterwards. So, another solution to make it bigger is to matte & frame it for "drama." :)


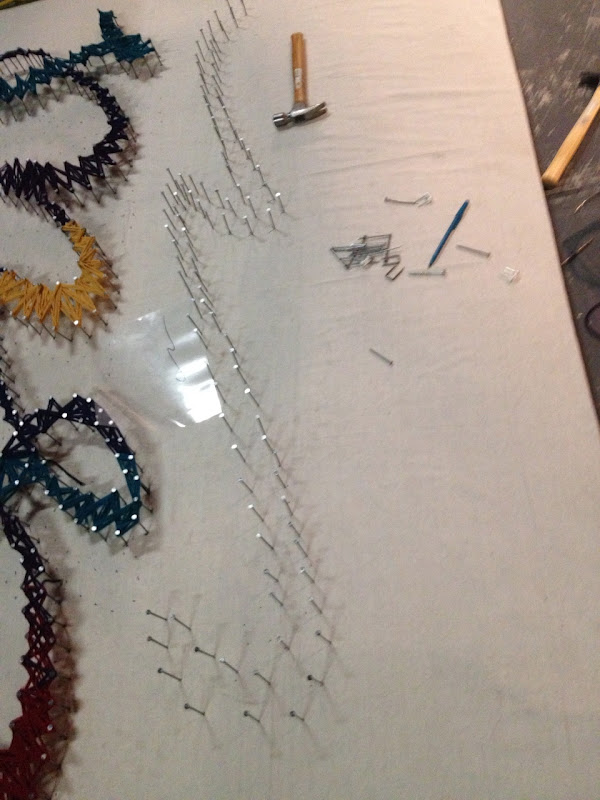
We also realized that we needed to come back over all of the letters & make the yard even thicker & more dense than we had done the night before.
I love the color of the matte around it.

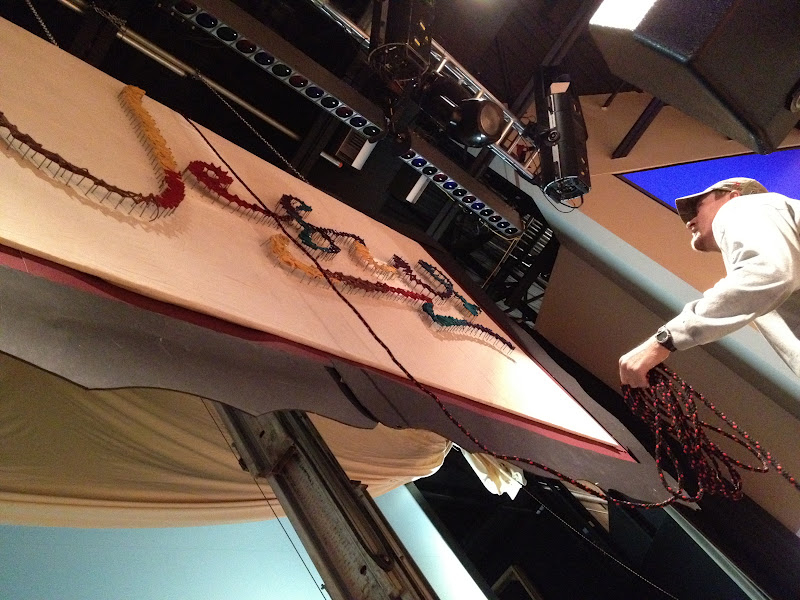
Thursday night, we came down & decided it wasn't complete.
And that it needed a cool, underlining, swoosh ...

So we went to it..


OMGosh - - the swoosh is making it!
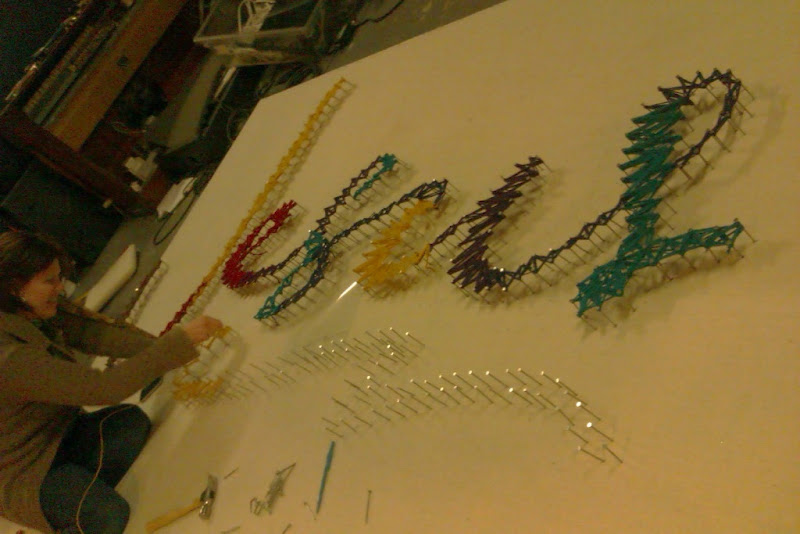
You can see how big the piece really is, when there's a human on it! That is Janell. A bright, creative light on our team!! JOY!
Thank you Janell & Layne for staying late to add the swoosh!

Next, I'm thinking through the frame....and we have some scraps backstage...Funky, shabby chic with scraps we have backstage.

So I start cutting the foam boards...
...and laying them by the mattes & Jesus piece...
Lovely...


This is a little crazy, but we're staple gunning & glue gunning them frame in place.

And now adding eye hooks to secure the chains to....

Andrew & Janell helping adding the rest of the mattes & frames...


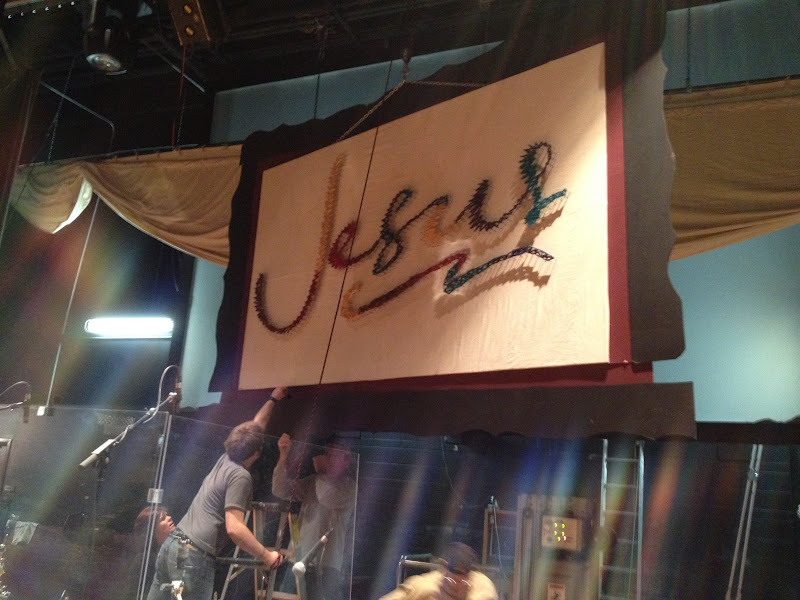
Now lifting the piece.
After it's in the air, we can add the bottom matte & frame.

Janell & I taking pics of each other...

We had to patch in framing at the bottom corners. No prob.

The back side: It tells a lot of the story too...

My instagram from the back of the room. I'm loving it!

Everything is in place now, and with WEAVES placed around it.
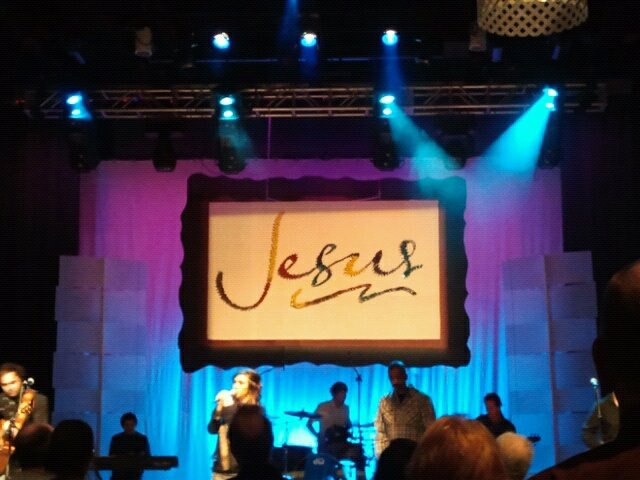
Next up, set the lights...
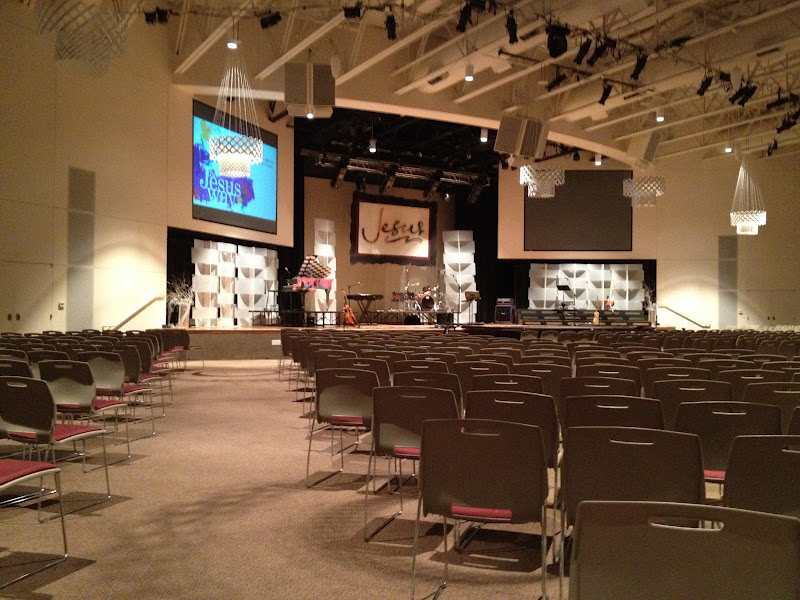
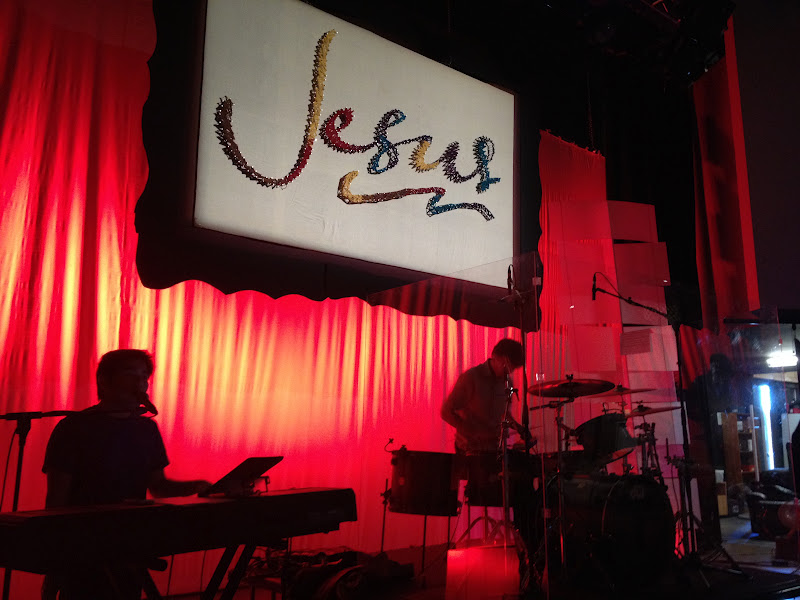
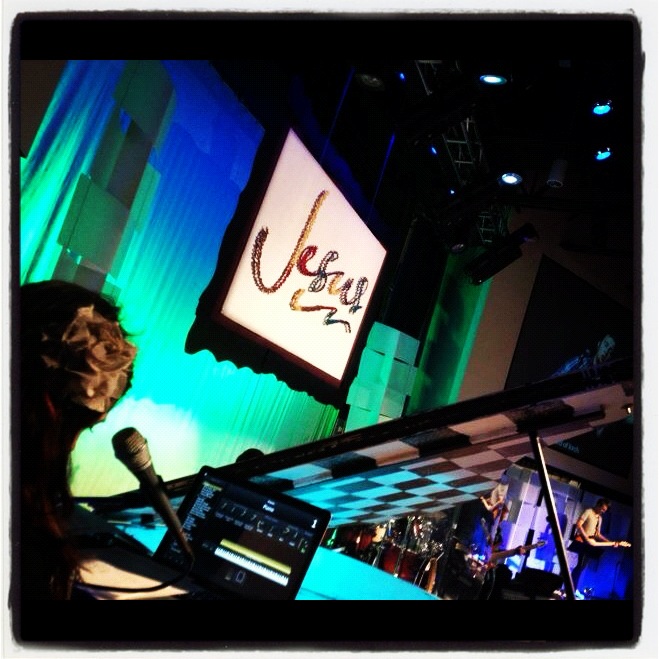
Ta-da! Love it! From Pinterest to stage...
"Jesus String Art"


If you want to be a part of Crossroads Creatives, contact me jperez@crossroadscolorado.com and you can be part of our next big project!