Little Stella gets PAINT!

I woke up early the next morning and went right from my bed to trying out colors. I had no idea that painting an RV would be so tricky. The colors totally change - painting outside. Wow. So that's not green at all. That's terrible & not gonna work.

Ah, but Peppery - this is going to be awesome!
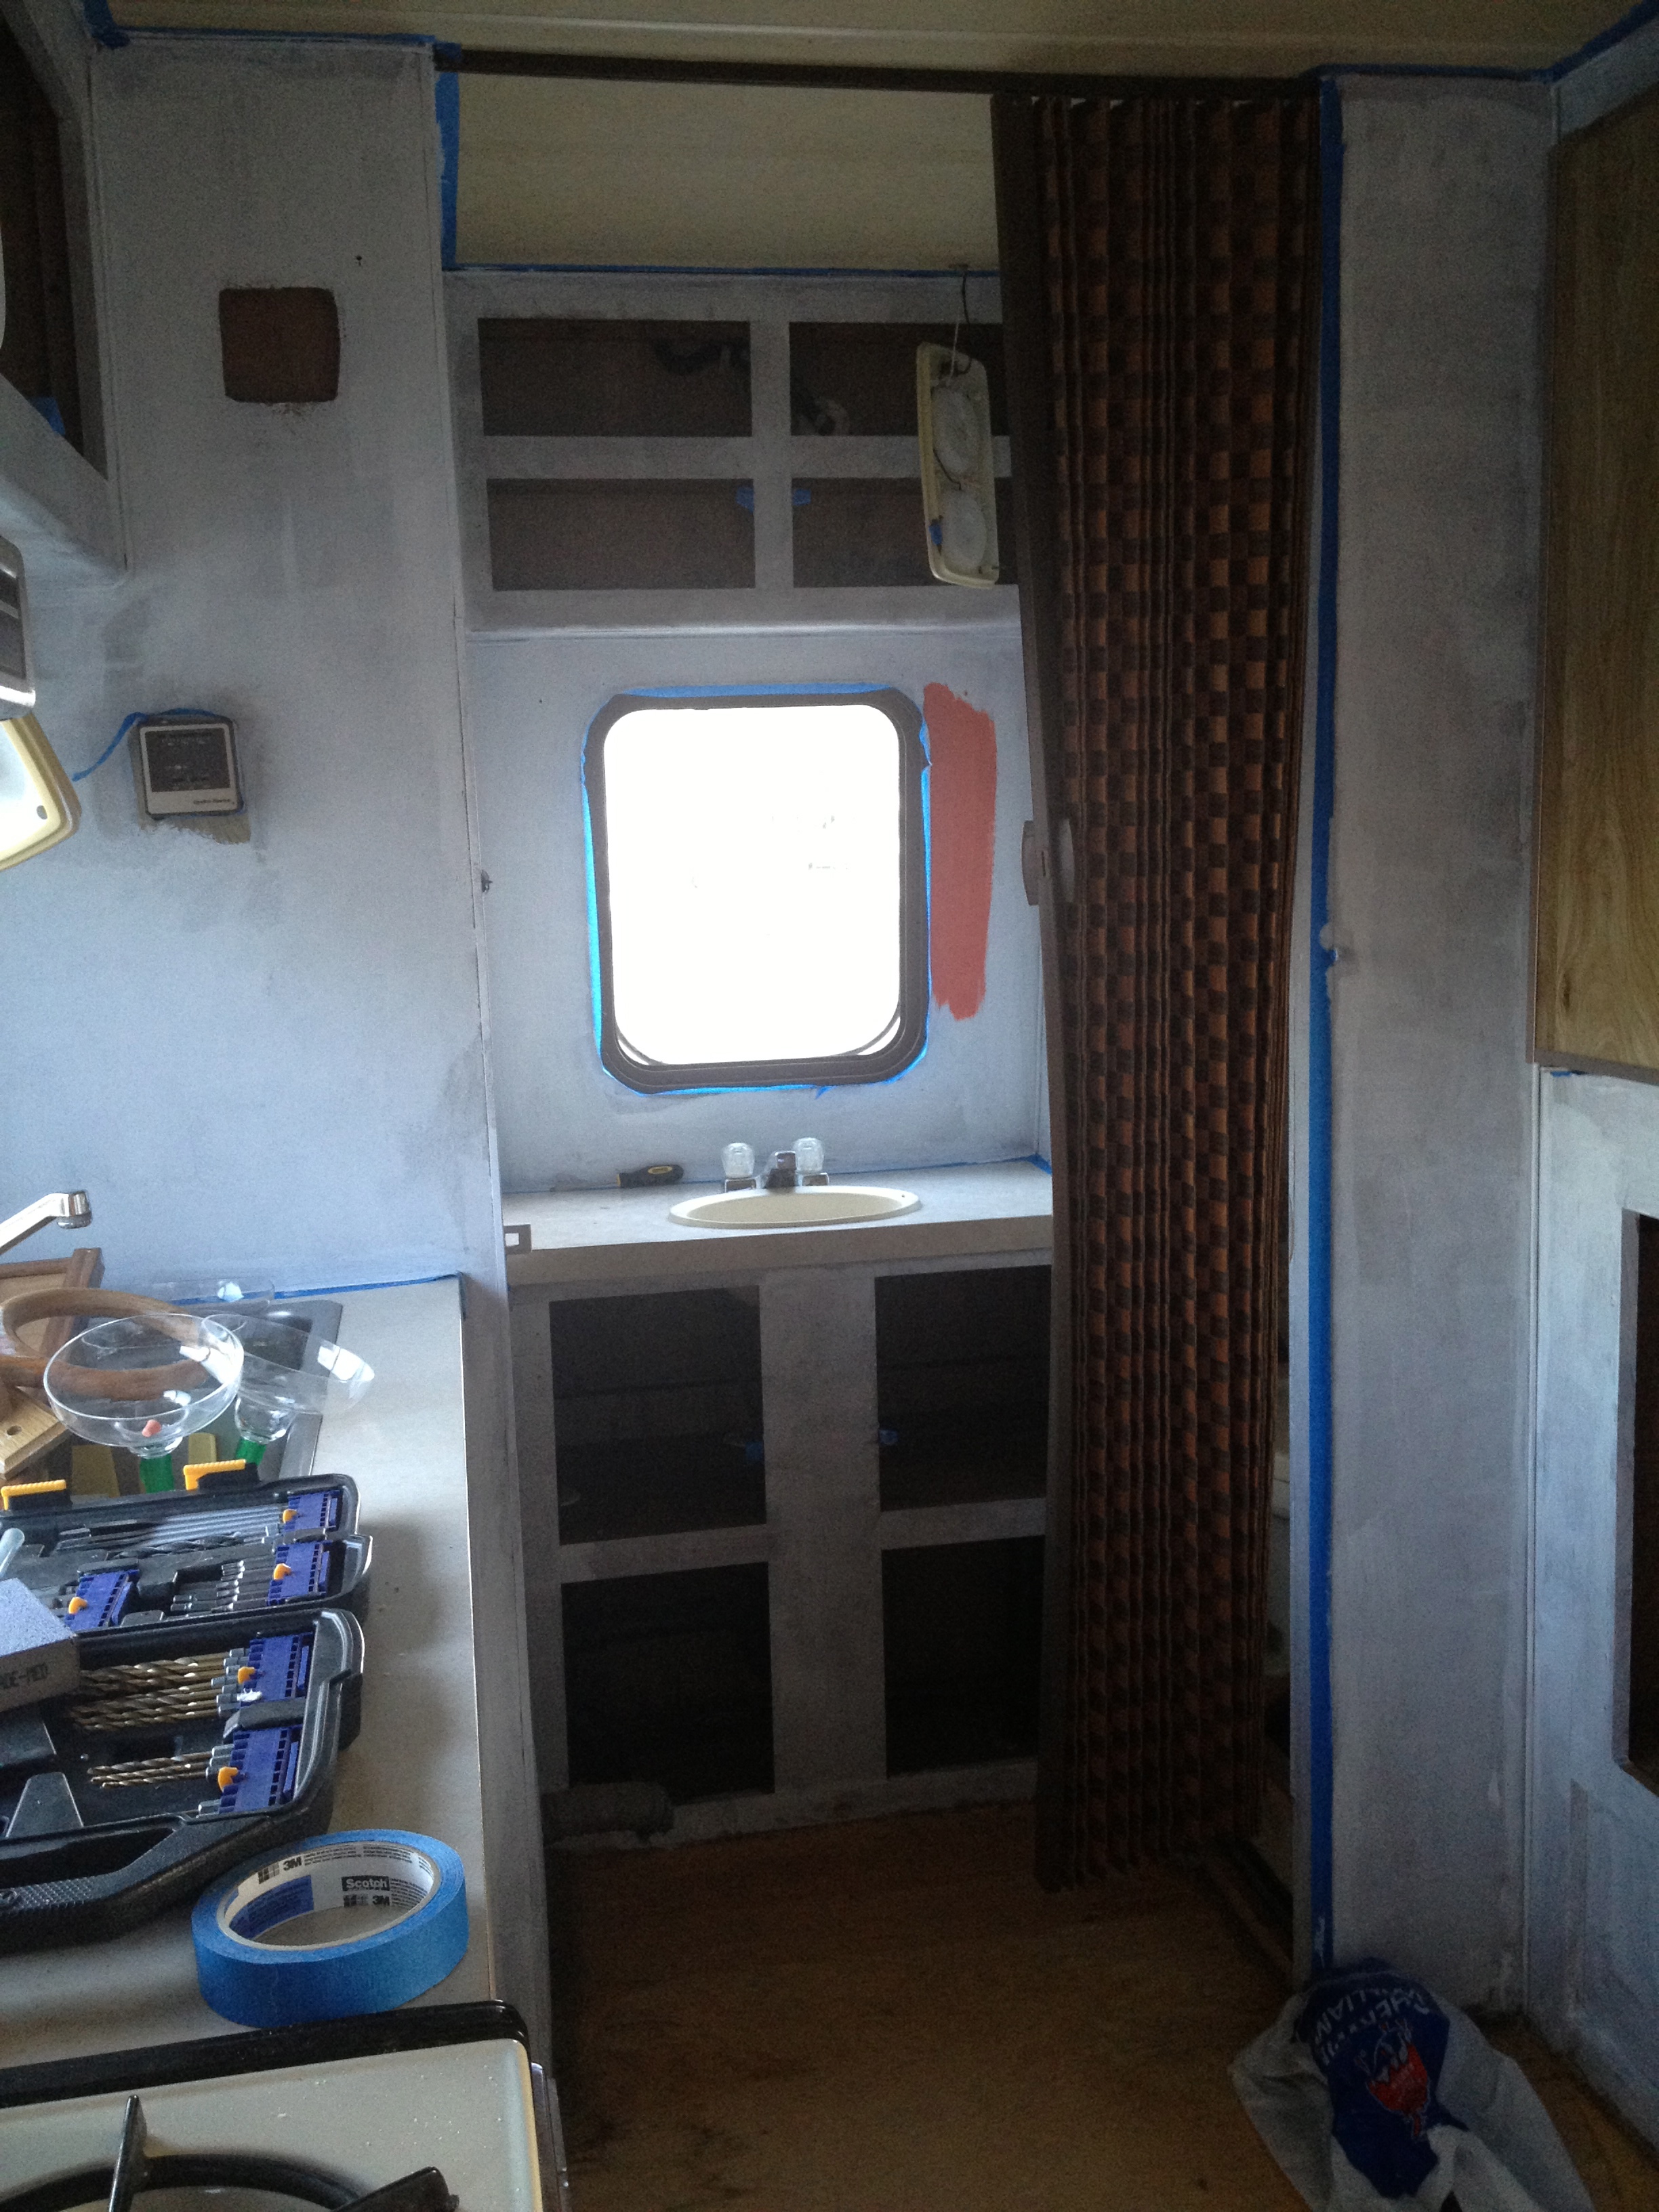


That black wall to the right of the sink was going to be a chalkboard, but we both thought it's too heavy for that spot, so we primer'd it again...


Lower cabinets are "sealskin" from Sherwin Williams
Cute, cute, cute...This is approximately 1 week after we started the project. The fridge will be a chalkboard. I've learned that you might as well cover your chalkboard surface with black or dark paint to save a little money & coats of paint. Then go after it with the chalkboard paint. It will still take 2-4 coats before it's ready for chalk & wiping.

We're working off the GLOBAL SPICE pallet from Sherwin Williams.
- Stonebriar - upper cabinets
- Sealskin - lower cabinets
- Canvas Tan - walls
- Peppery - red in back window & bench

My favorite Chalkboard paint is from Home Depot: