No-sew Cushions & Curtains (part 1)

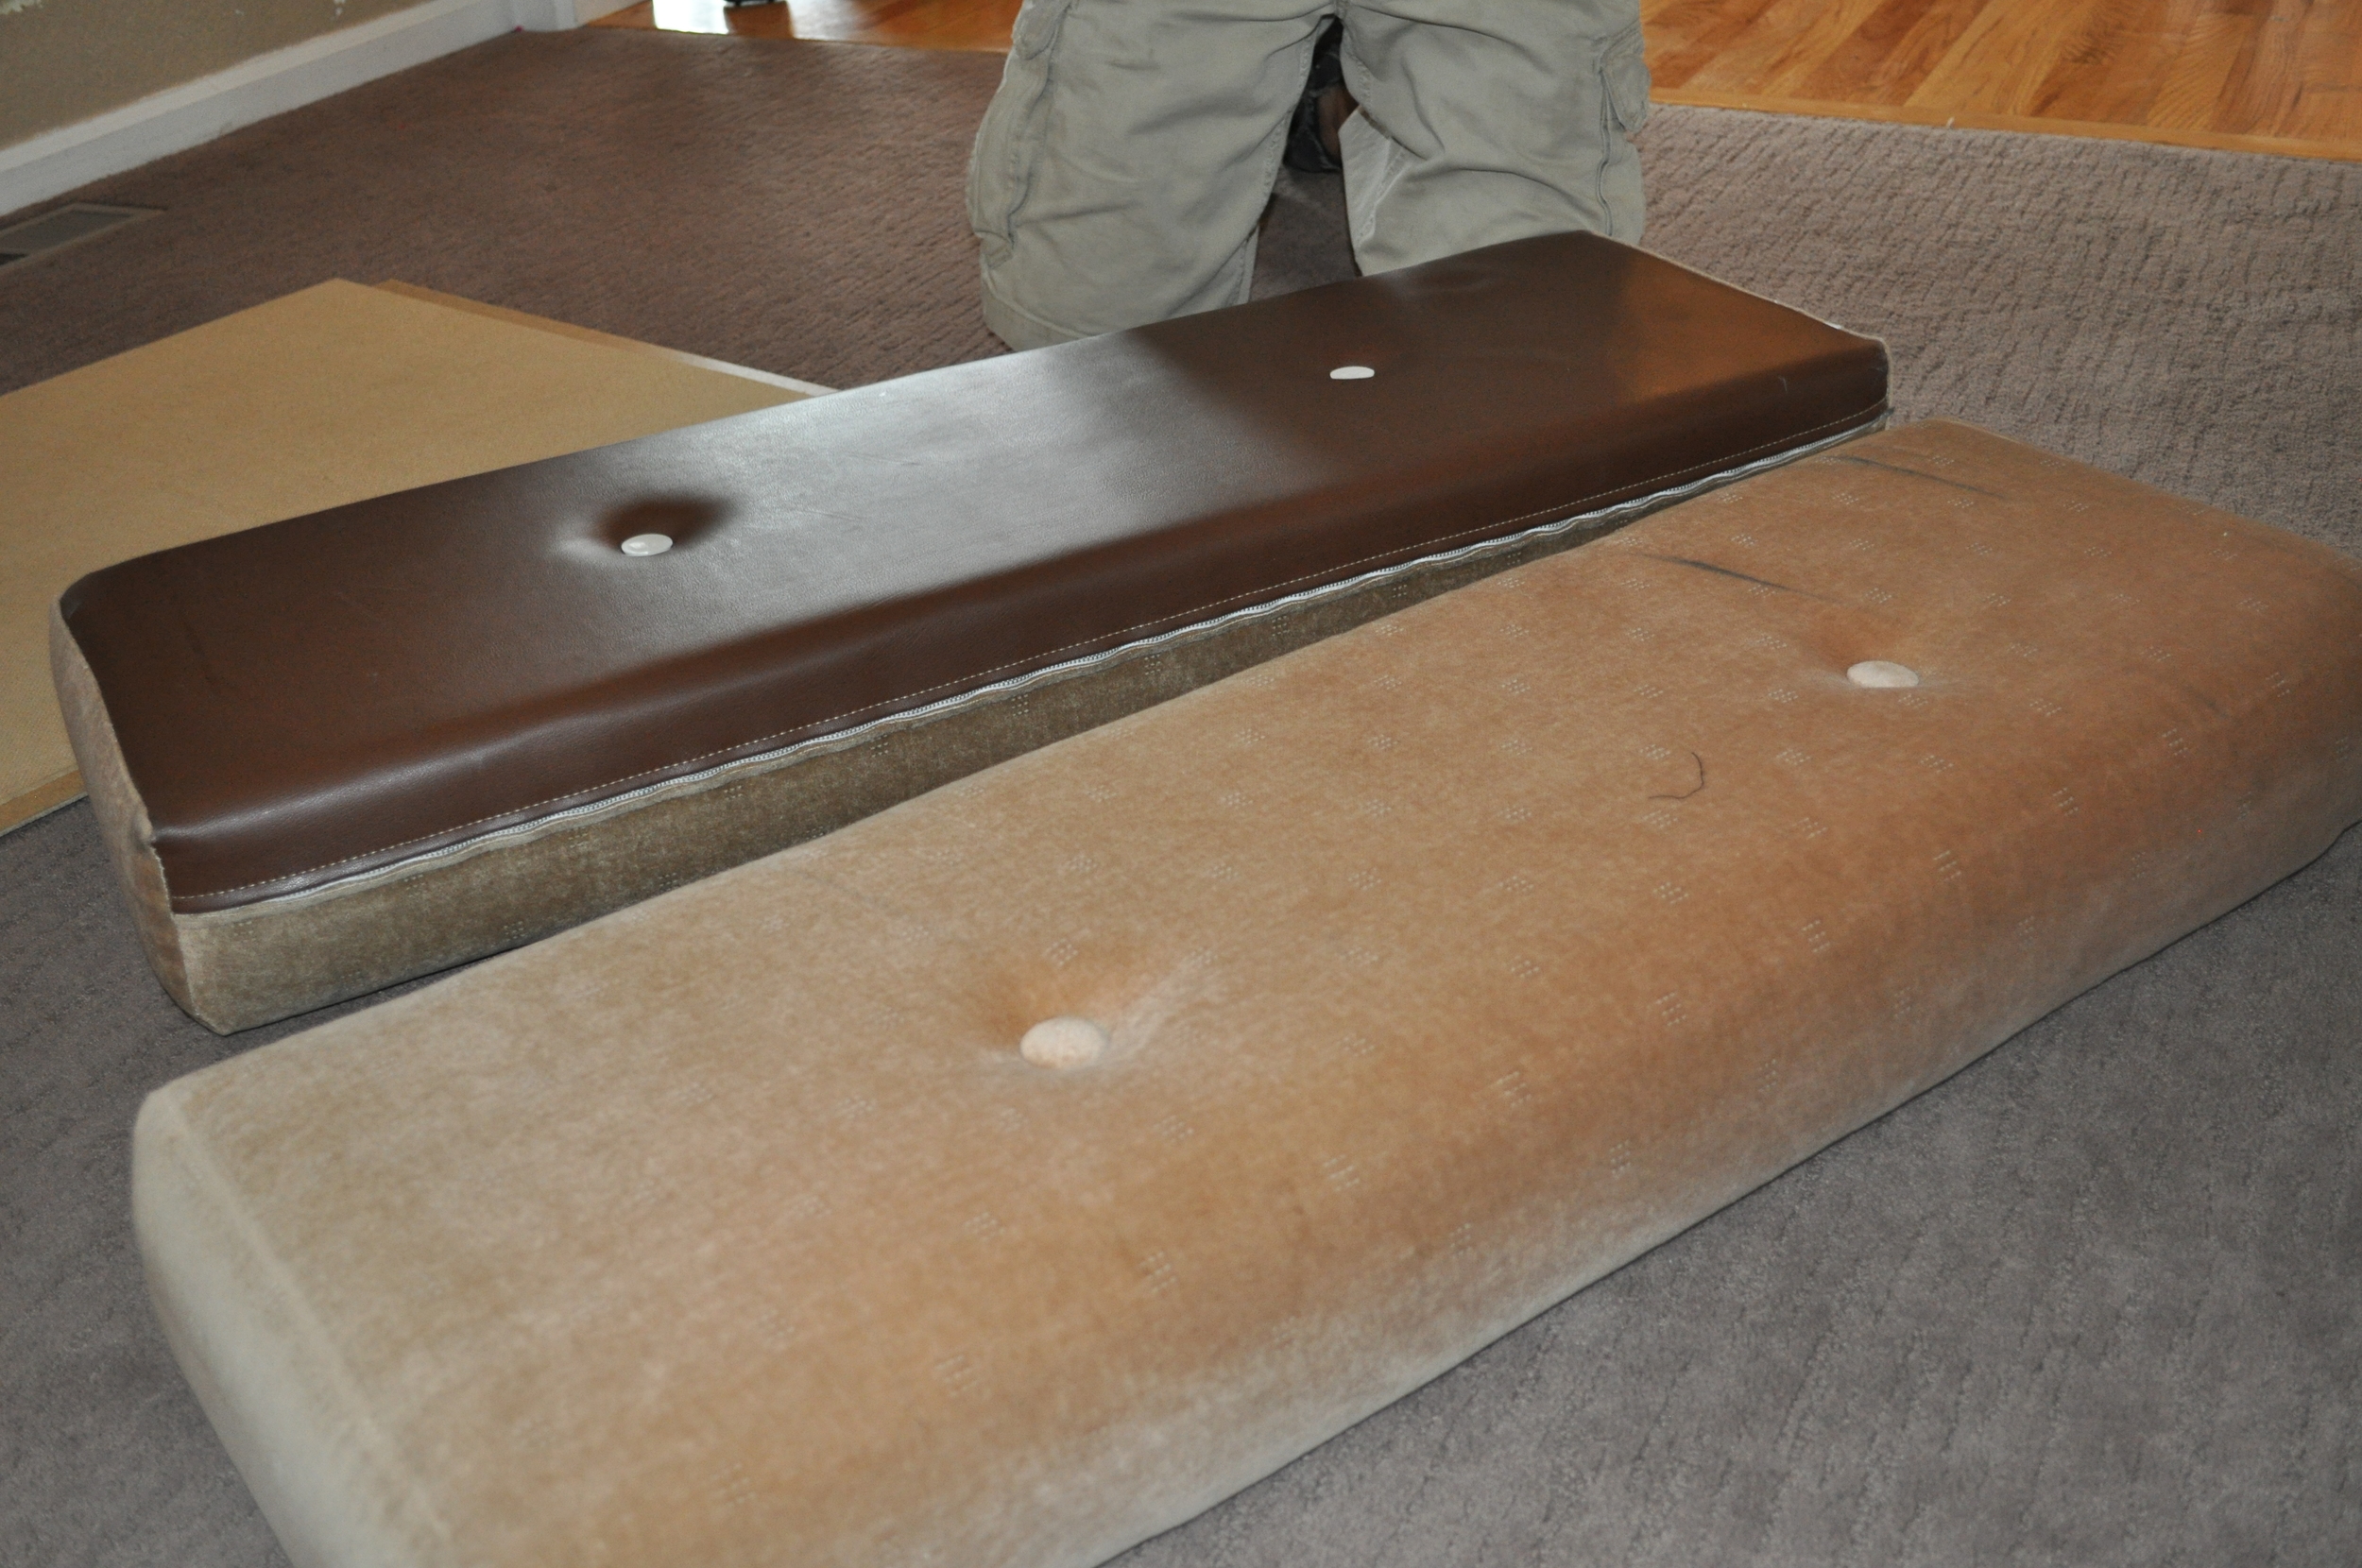
So here's what we're starting with...and they're soft and squishy on all sides. So we need to buy a really thin piece of plywood for the backs so we can staple gun the new fabric on.


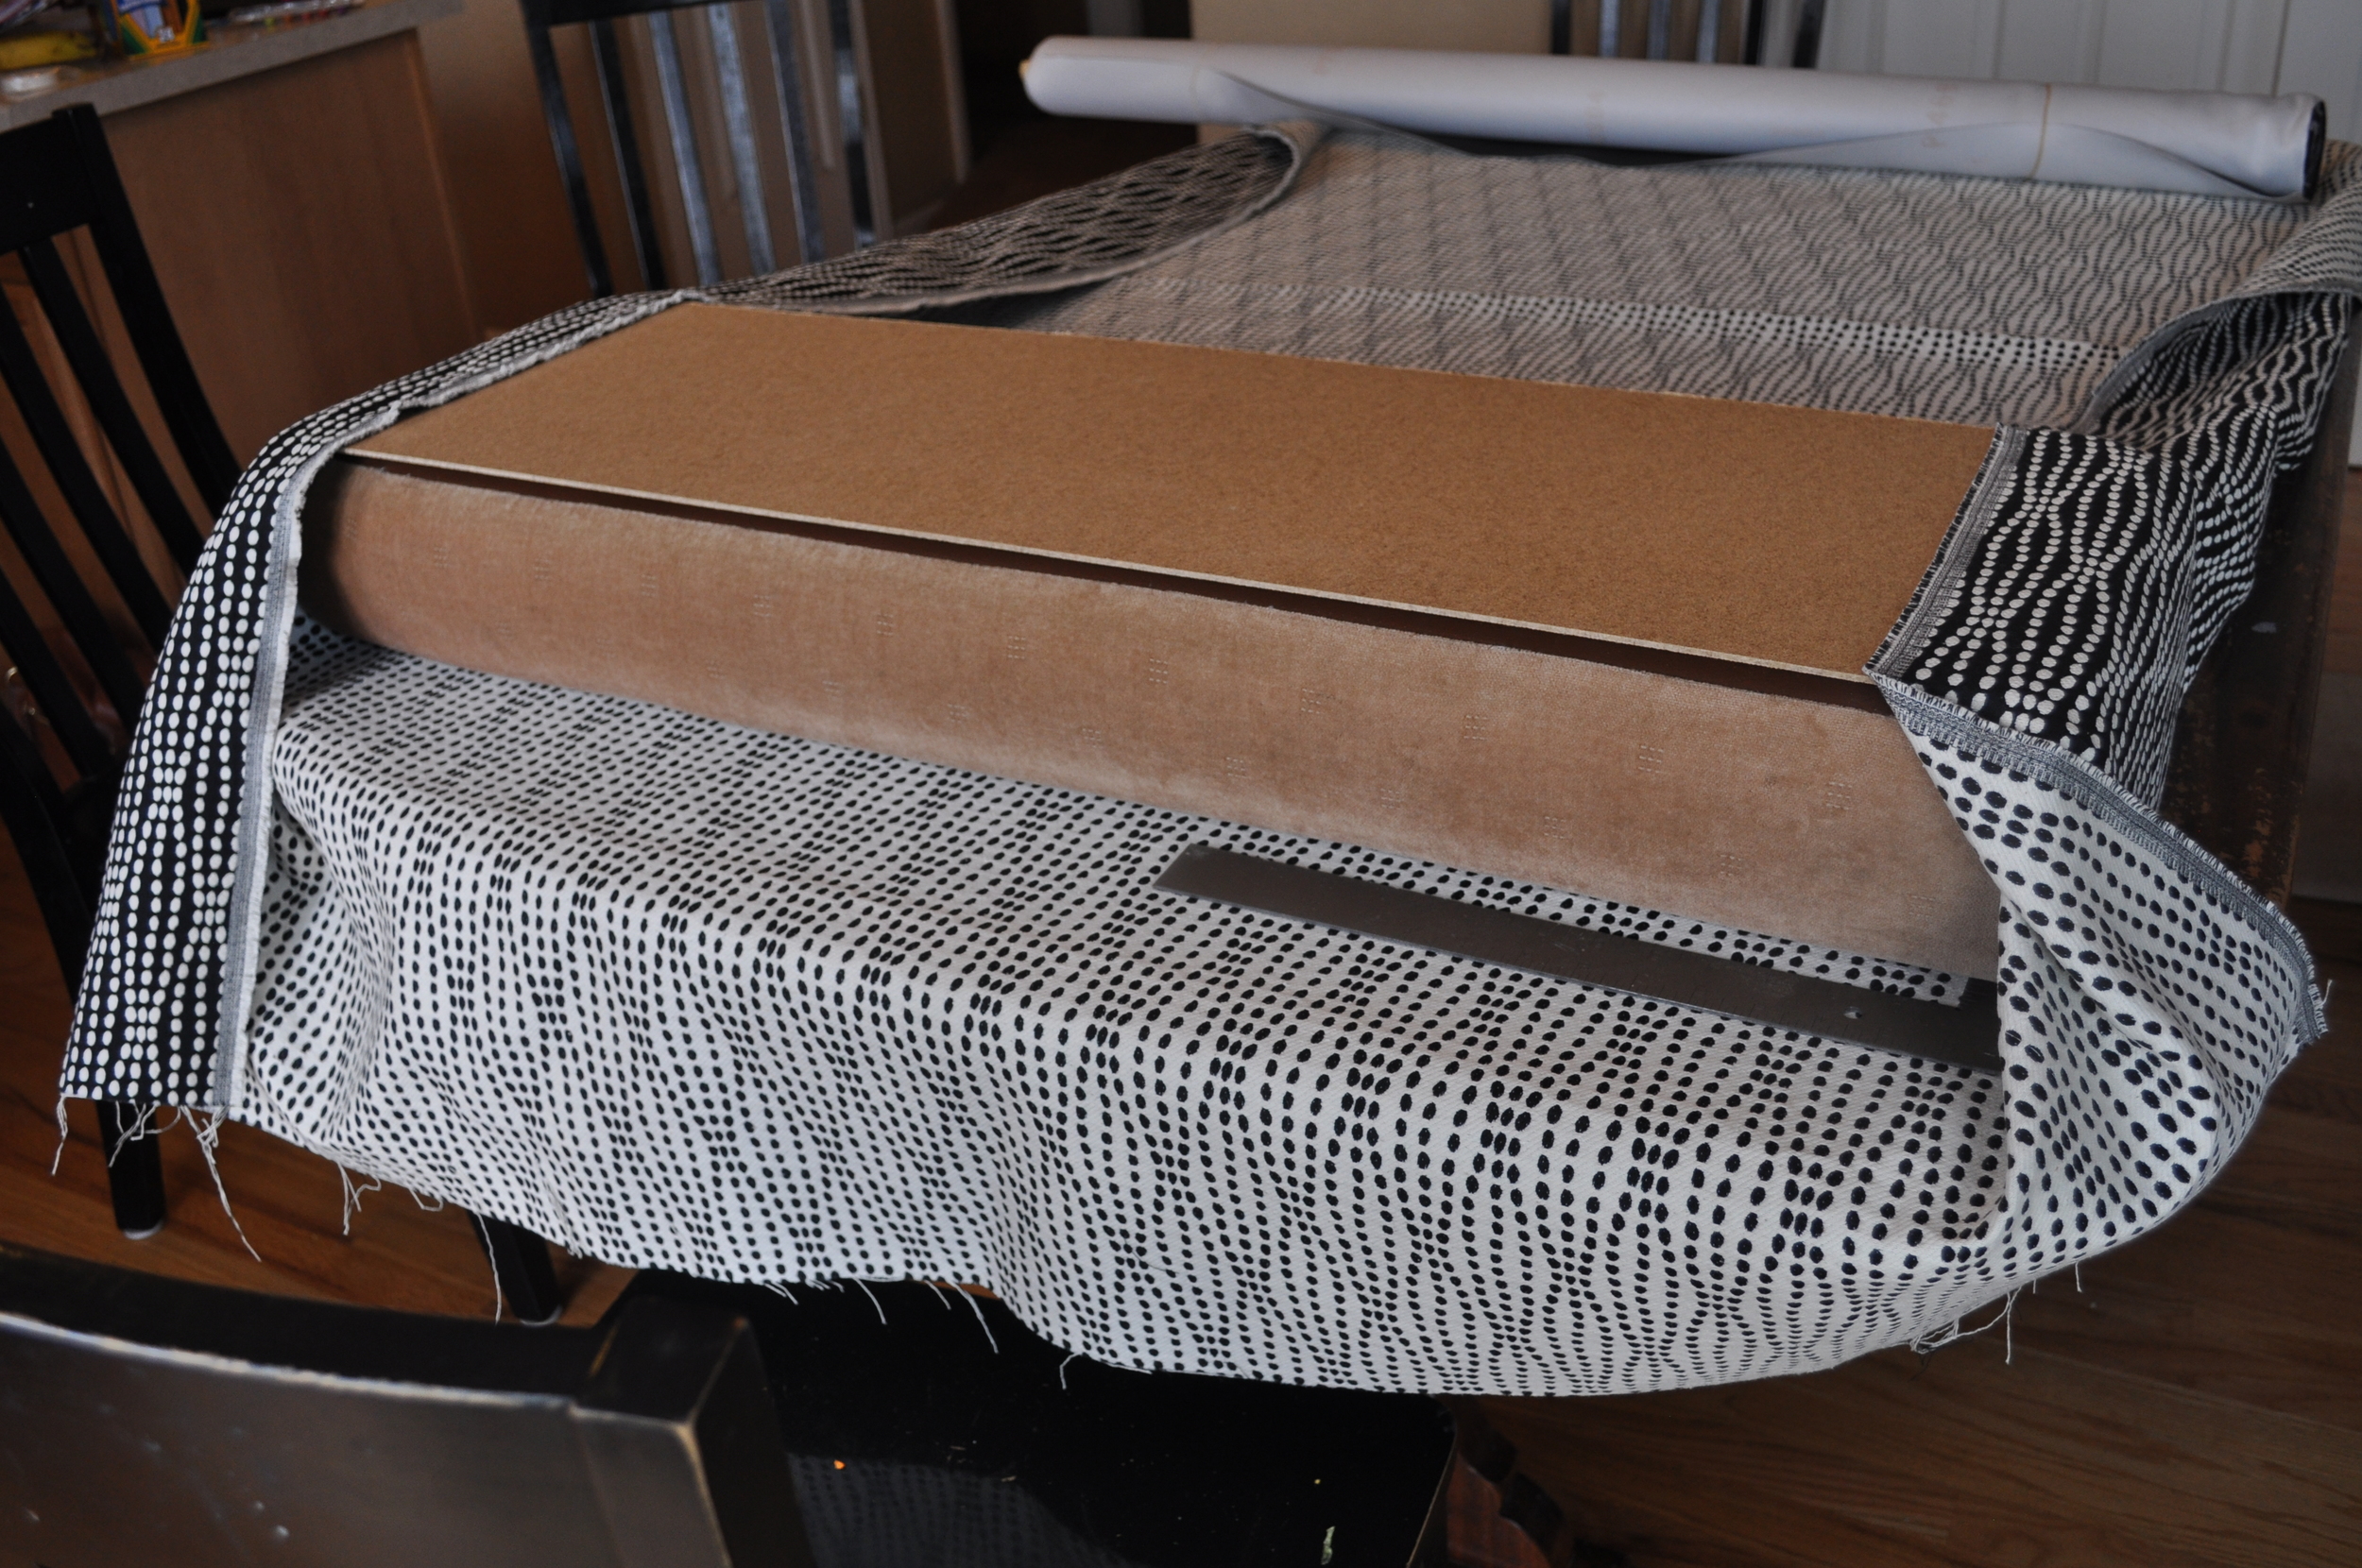
Mike measured & then trimmed the piece to be smaller on the back...


We found a very helpful blog instructing no sew cushion covers. You'll find it HERE.

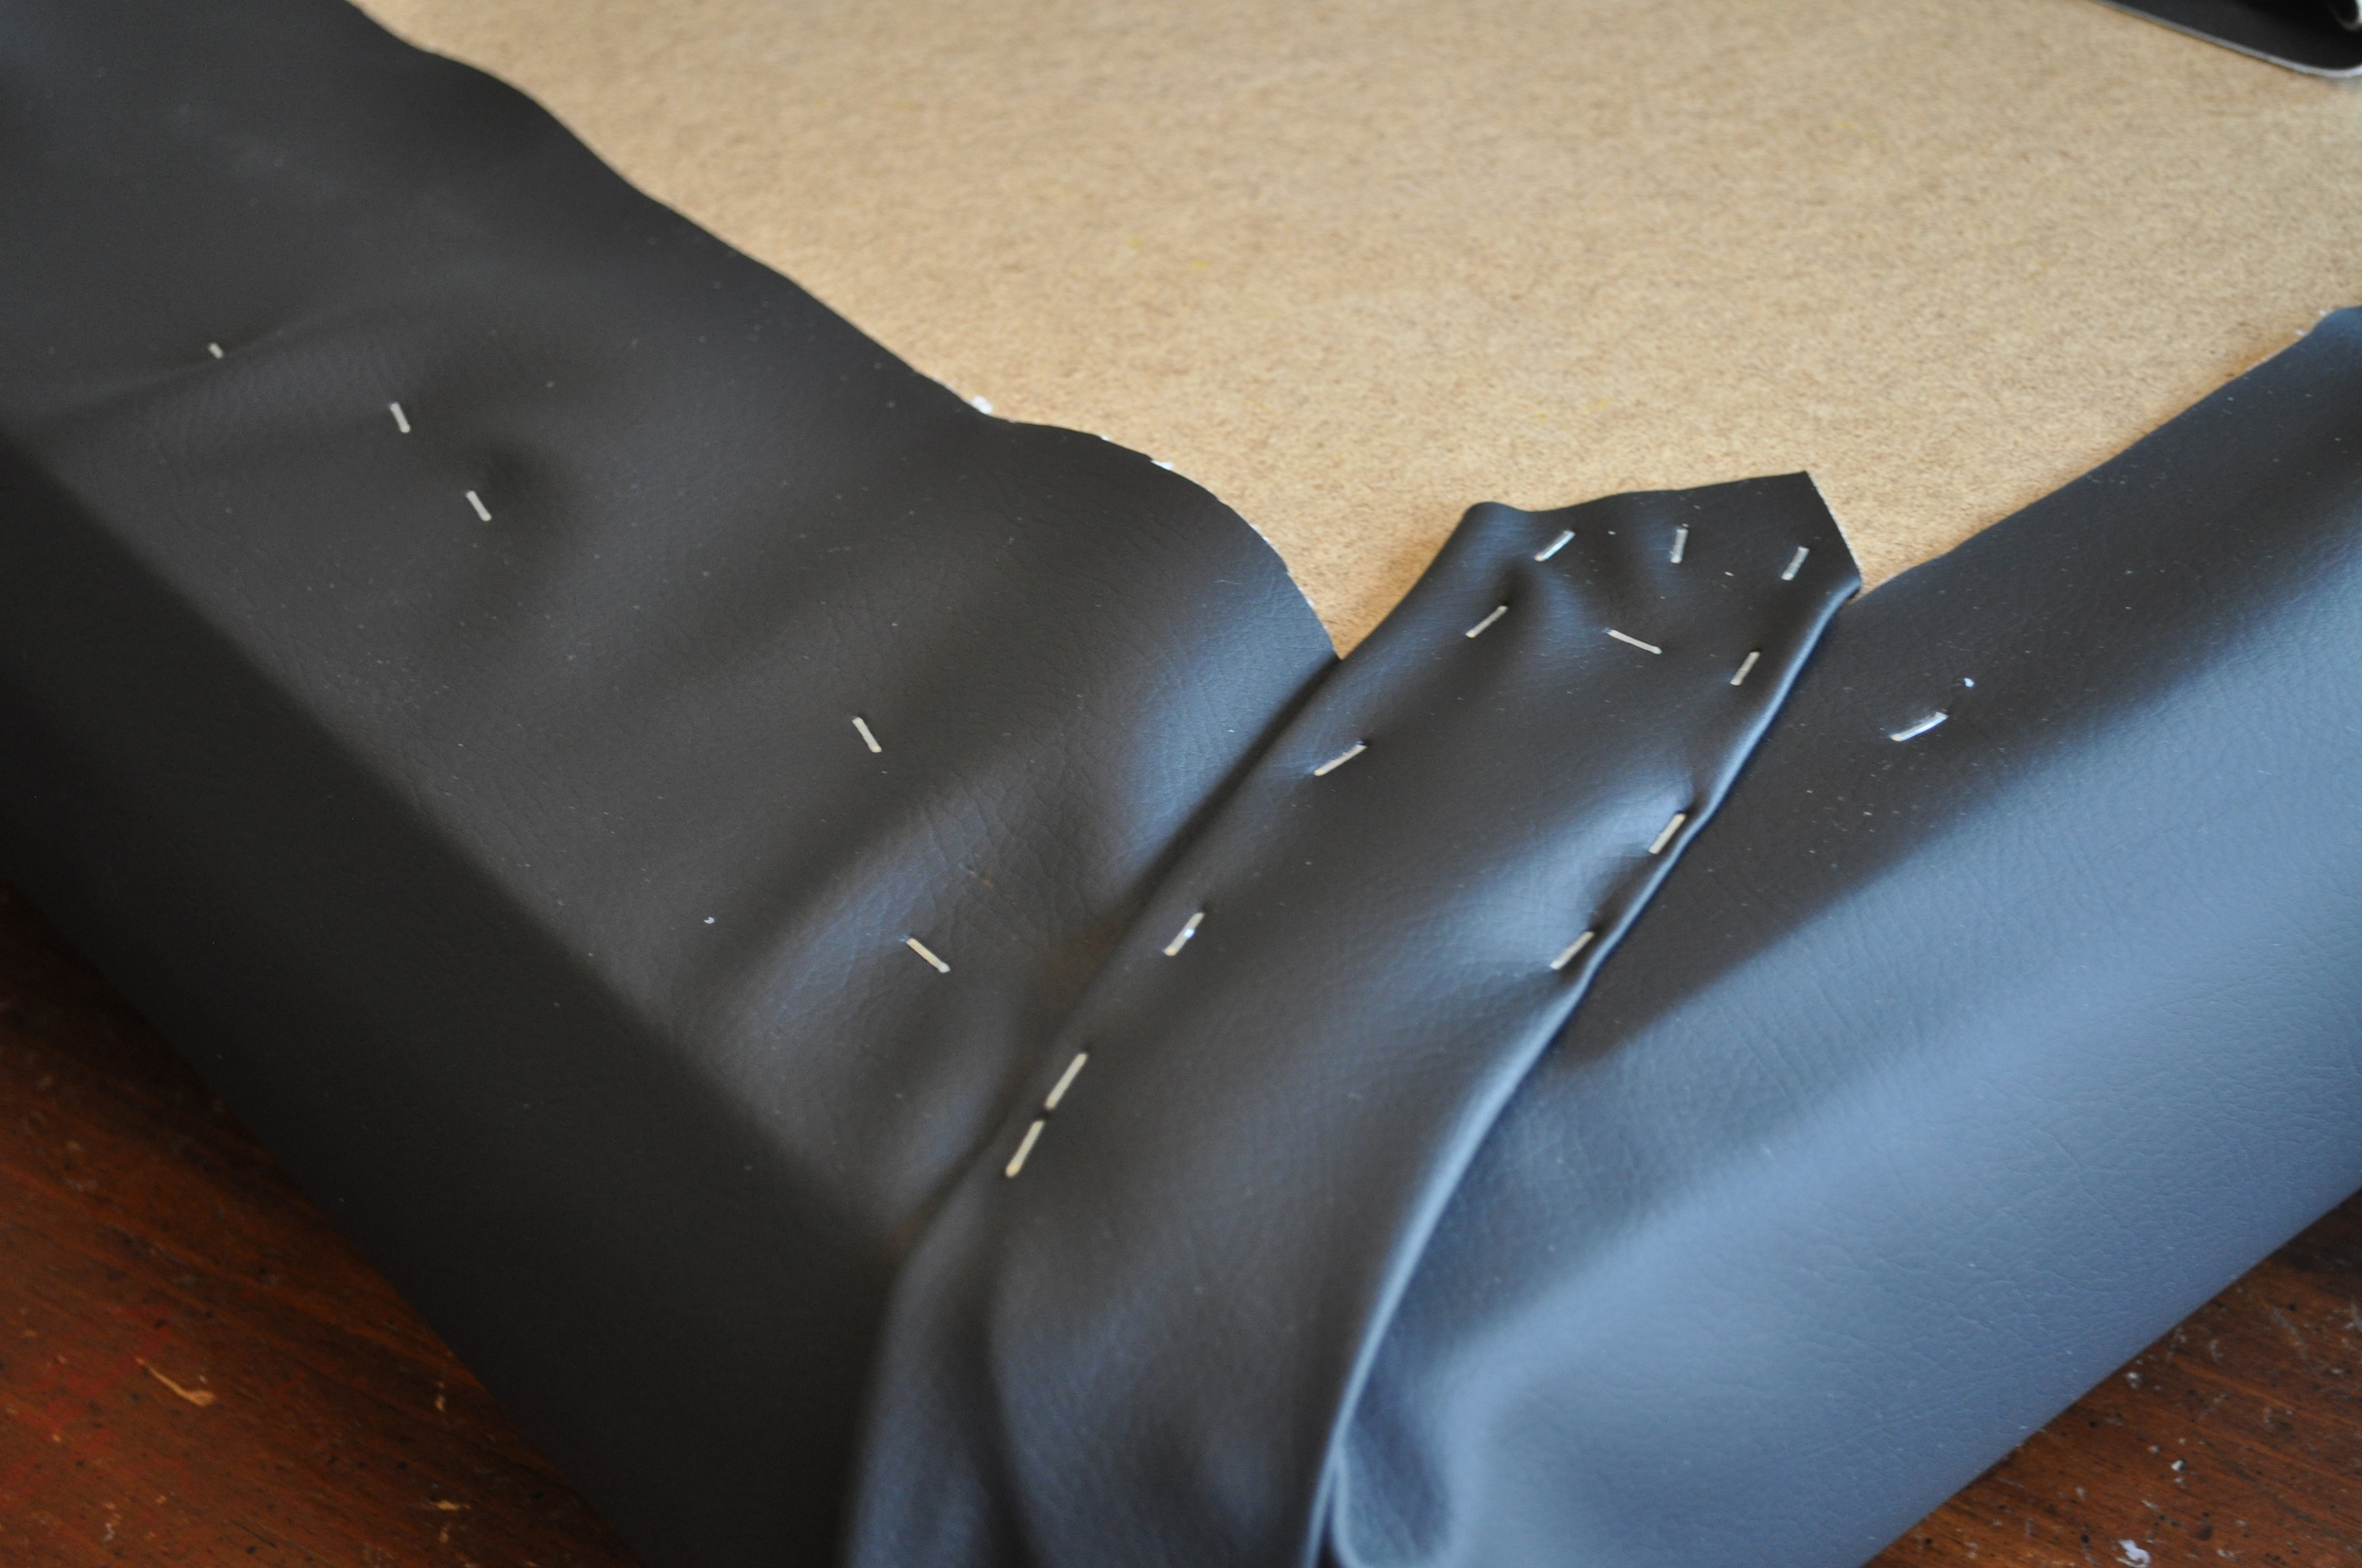
Once your material is trimmed to fit around the cushion & board, work with a partner - one will pull and one will staple. We started on the ends because we needed to be careful that our pattern wouldn't go wonky-crooked.
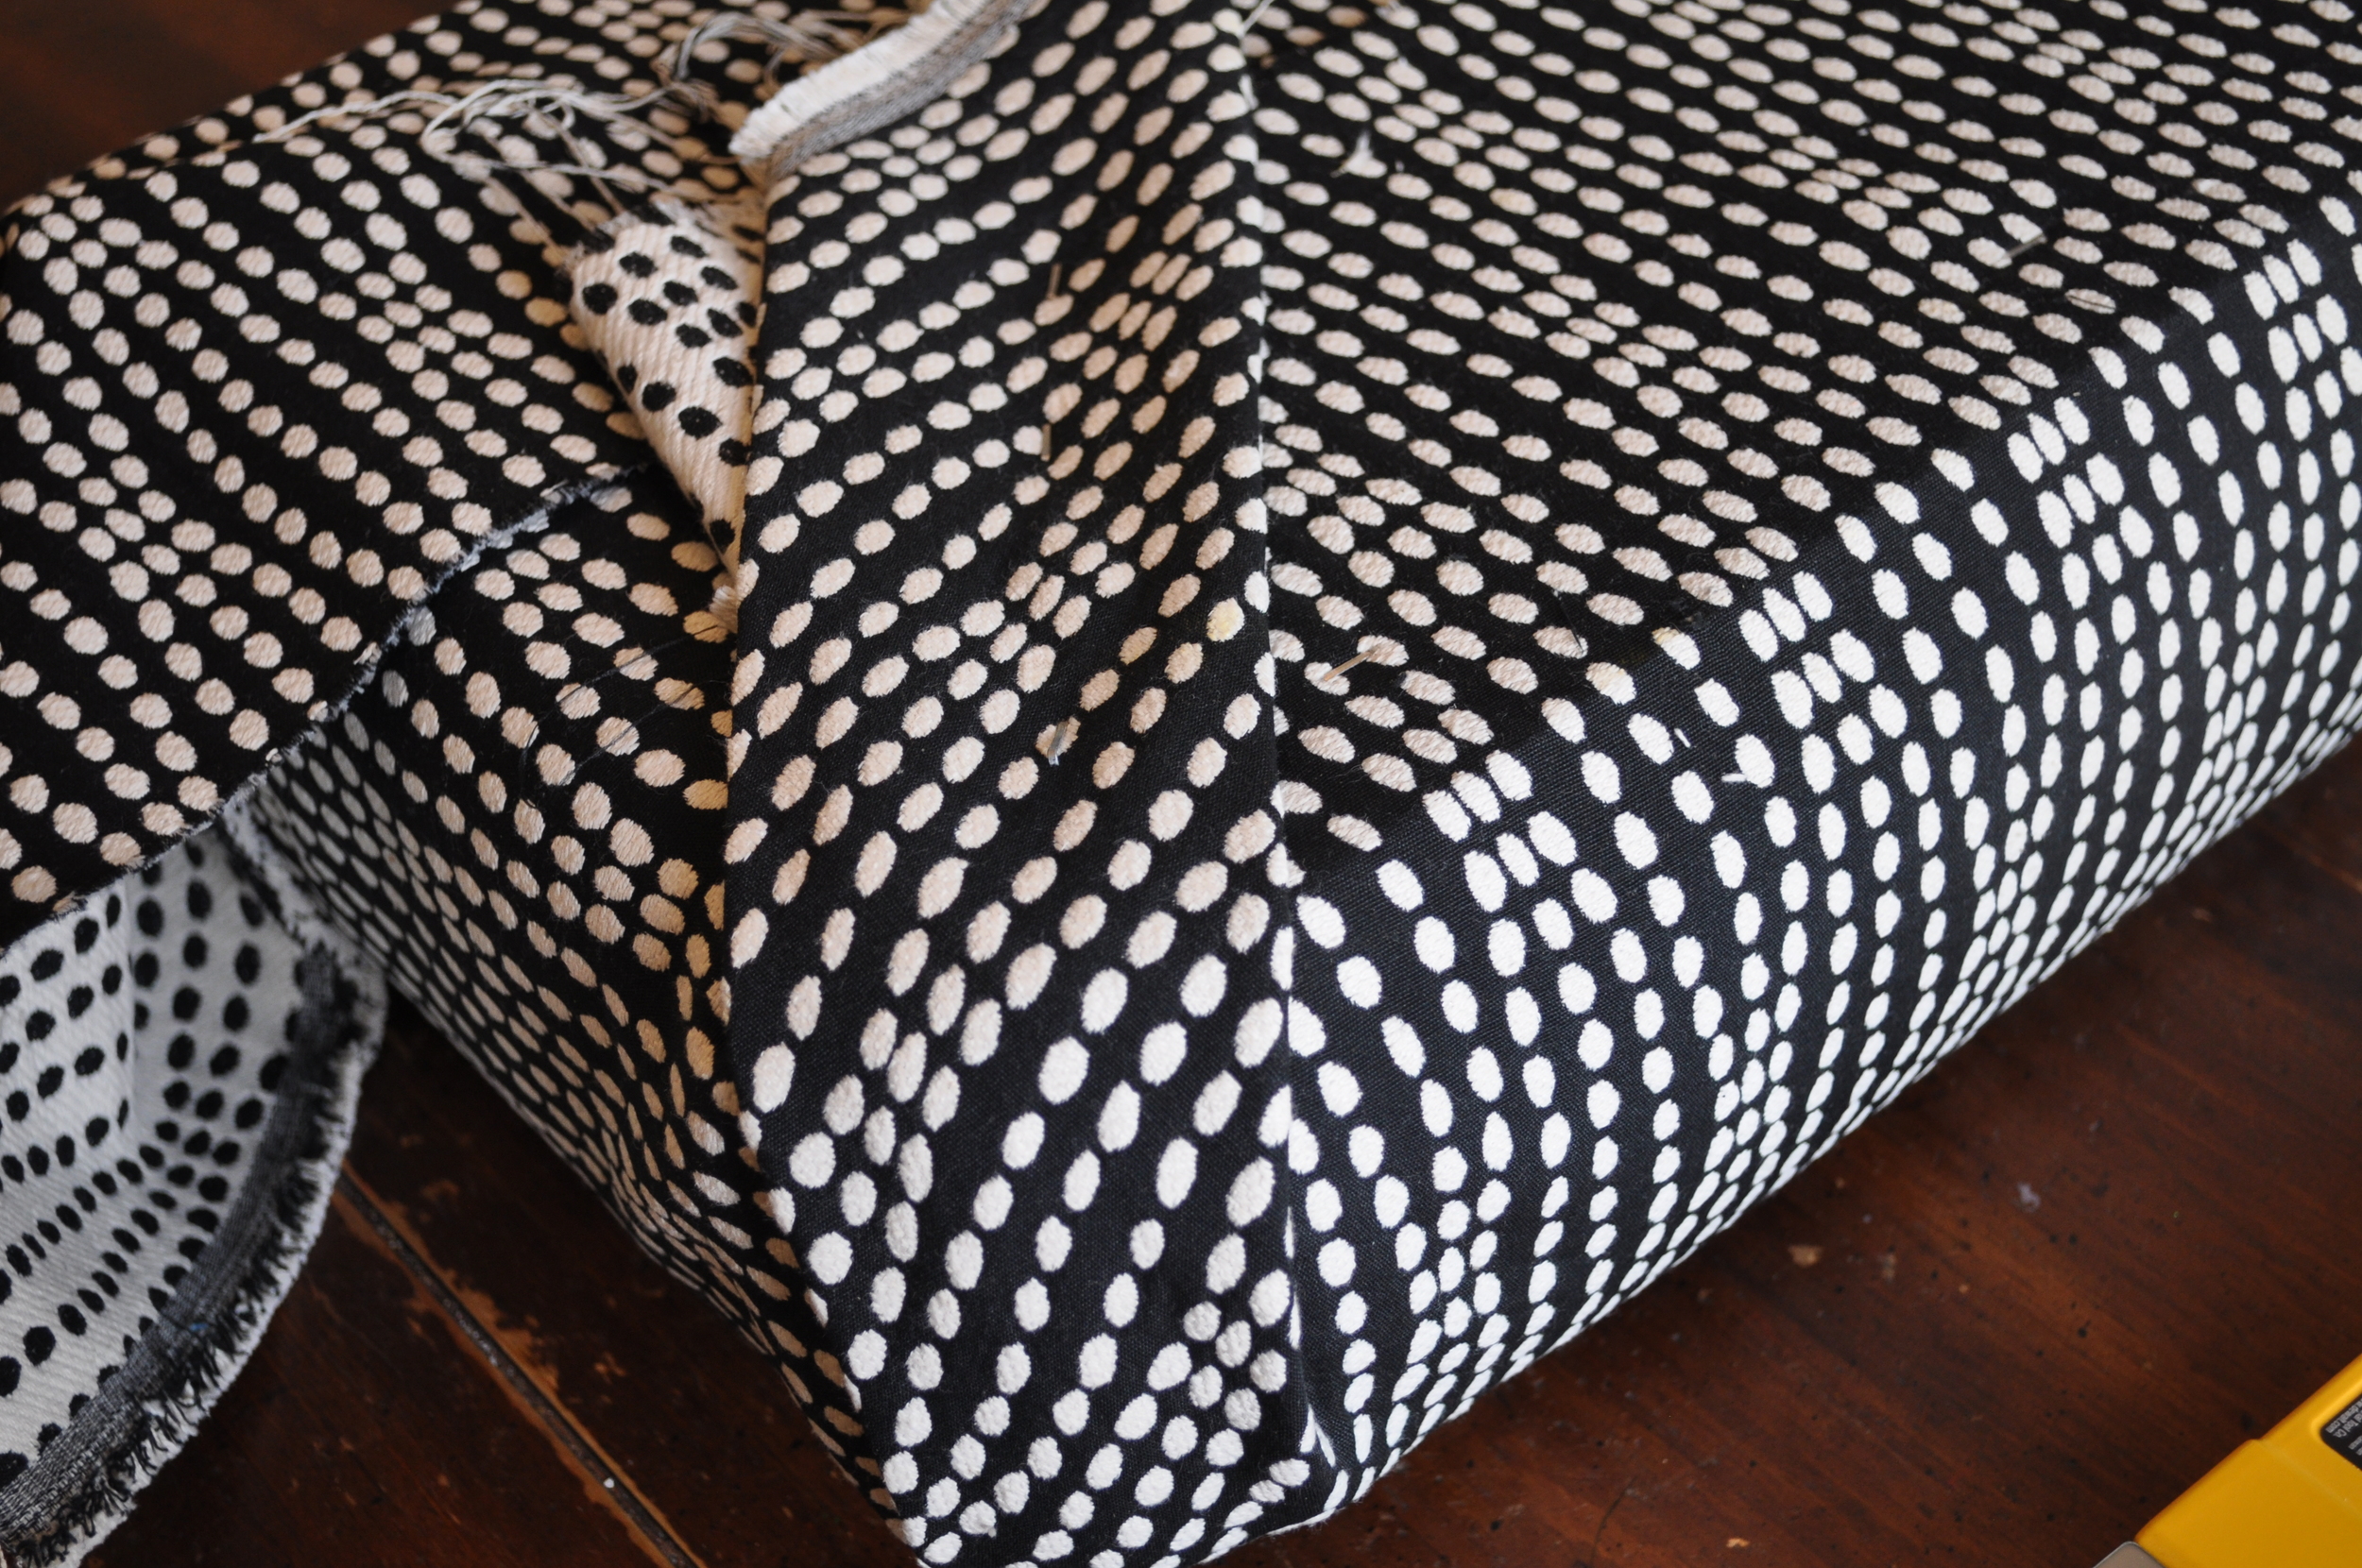
Staple in the center and work your way out...Center, right, left of center, right of that right, left of that one to the left of the center...etc. You get it. :)
Once the sides are on, we moved to the bottom/top. Same thing. PULL hard...start in the center & work your way to the ends.
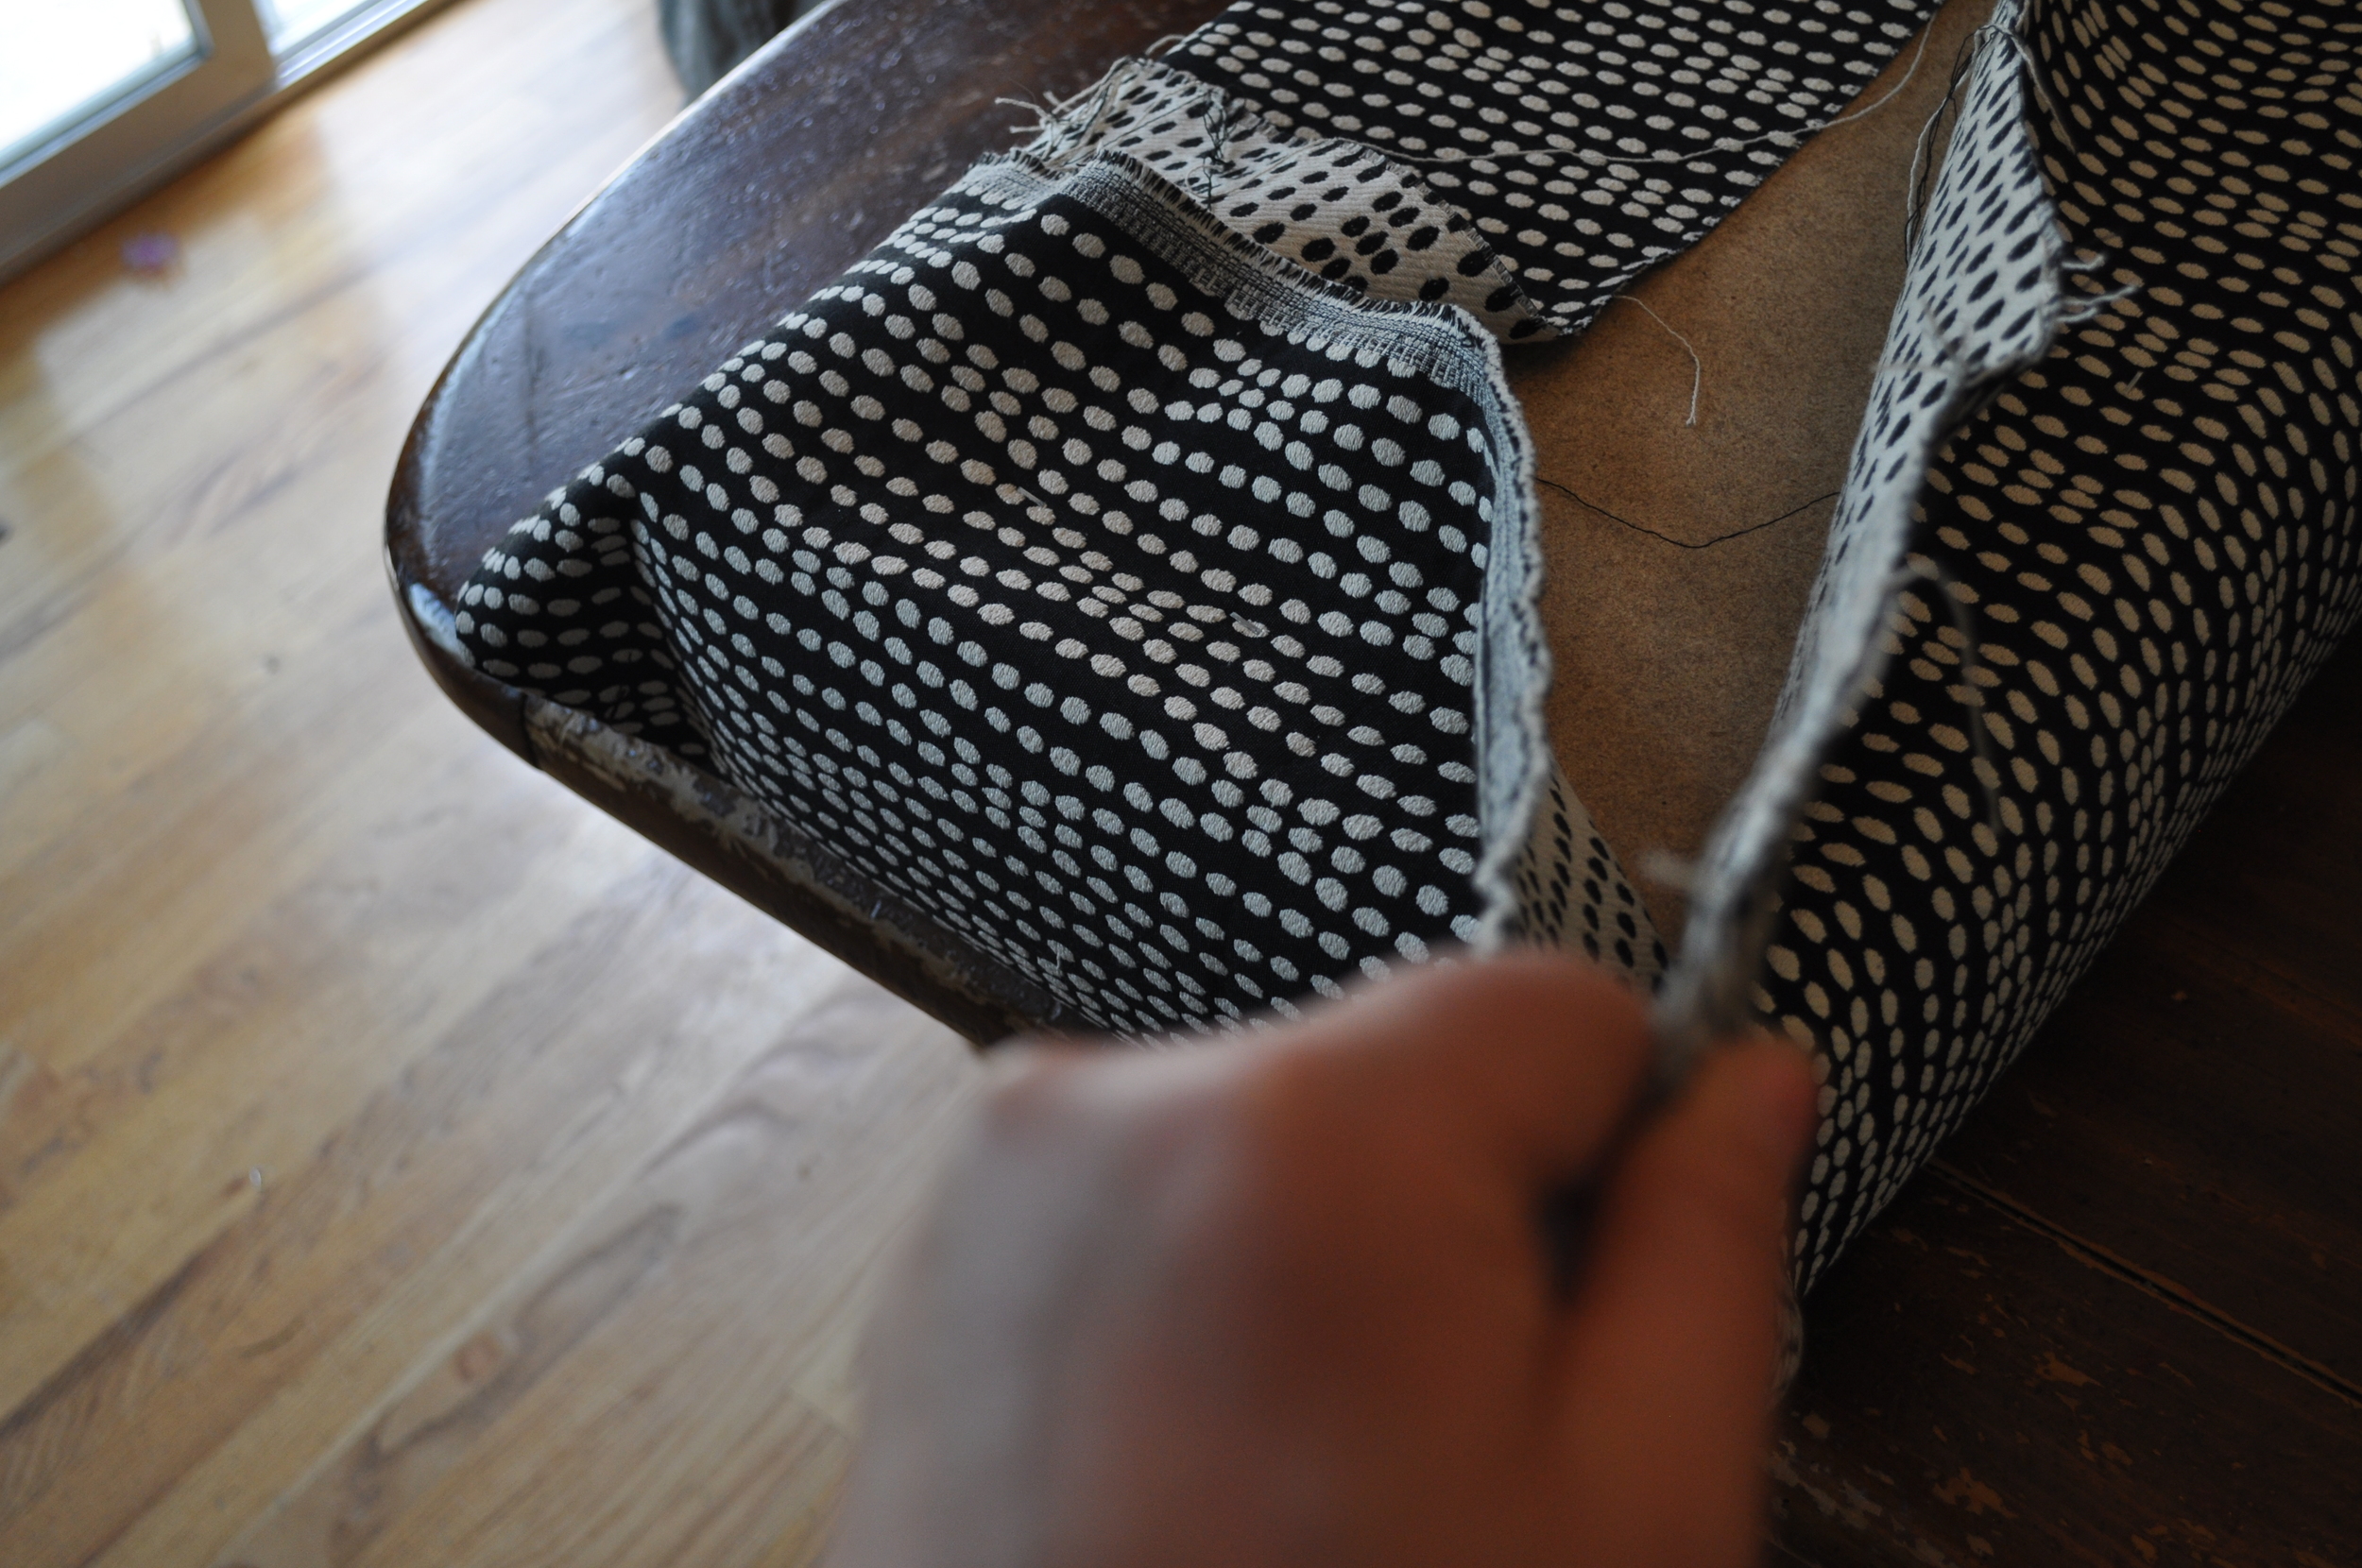
The corners get awkward with thick uphostry fabric - Just go for it!
Hello!


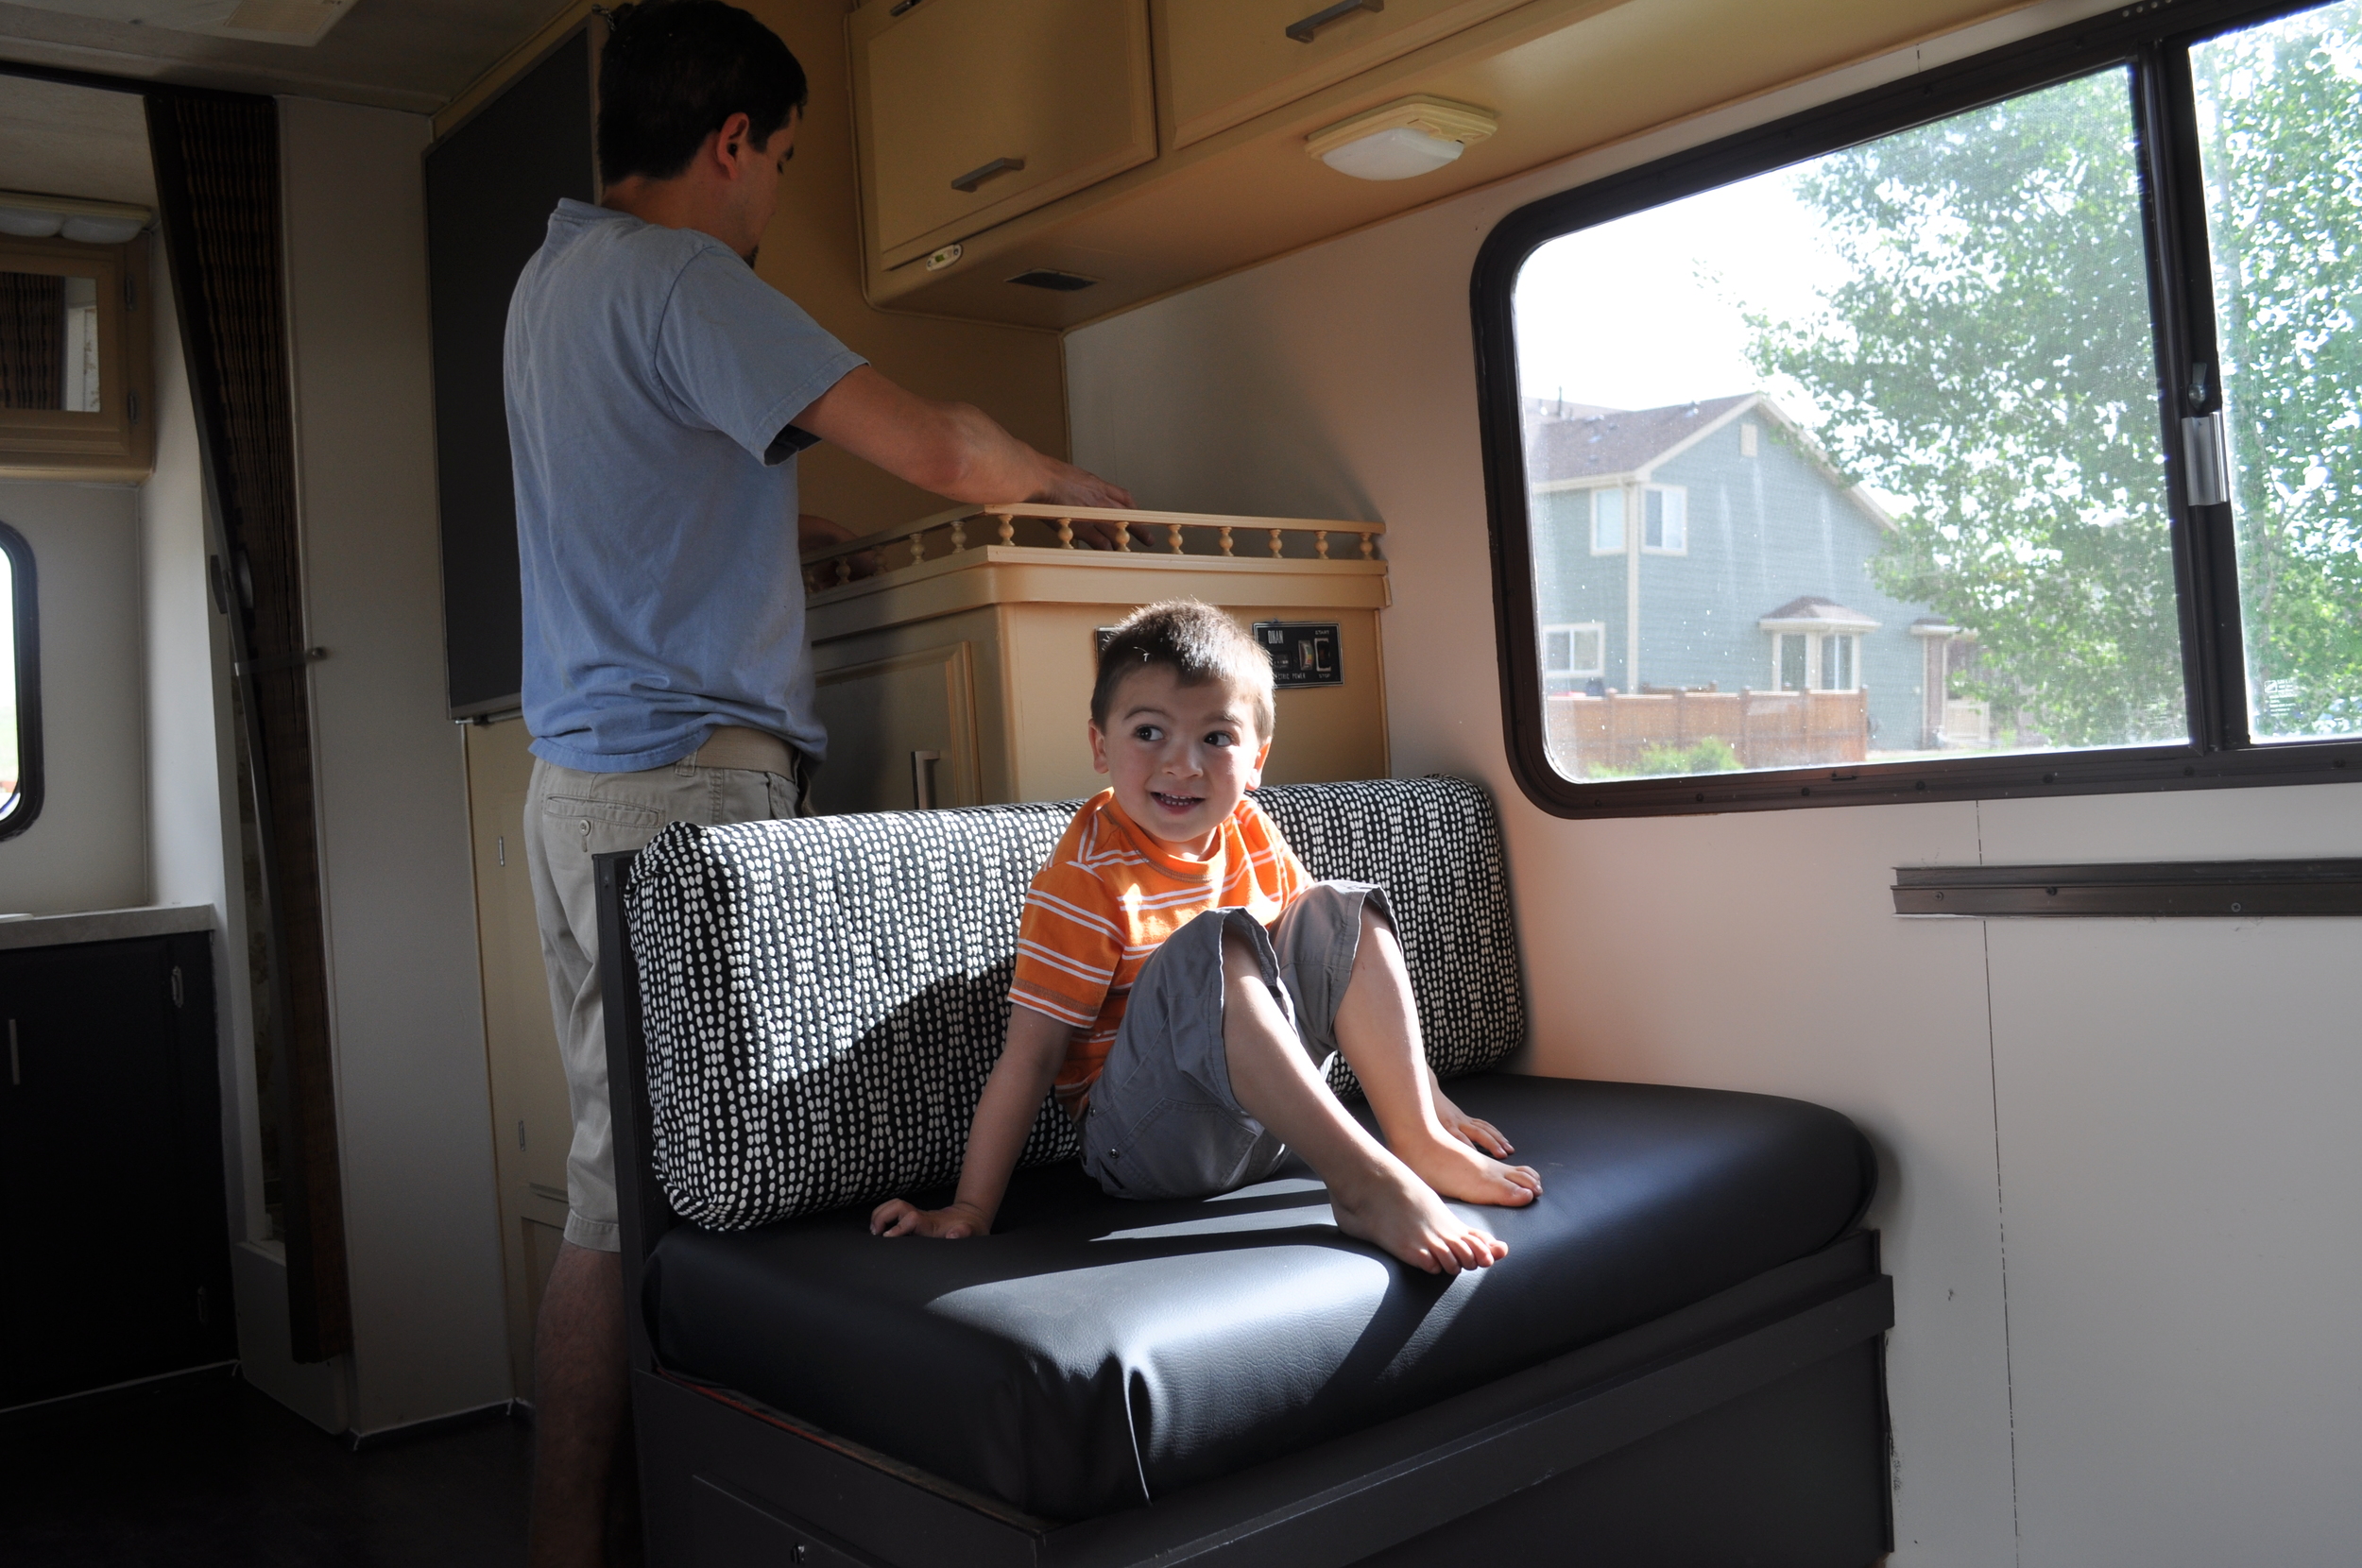
On to the seats - I think you'll see how it works even better with these...


Let's remember before again?! See those trim pieces? We just pulled & stapled covering those too..

Next up - curtains!

Ready for another wild Pinterest find? My dear neighbor Taryn walked into the RV for the first time & pointed to the back window & said, "That window needs the roman shade I just pinned!" AND...here we ARE! We had one pinterest-fail...and one that worked. I'll show you both :) My suggestion - measure outside of the window. I tried using the existing blinds & they were awkward skinny...hahaha...The new, better fitting ones were $4.99 at Target....here it is:

Roman Shade. Take 2.
- Lay your mini-blinds on the fabric
- Take off all but 4 of the slats
- Put the bottom back on
- Fold & tape or glue the sides back on


LOVE!
