HELLO modern Christmas trees! These are FANTASTIC! They're light weight, inexpensive & clean. It's not easy to find a clean, modern Christmas concept - so we were thrilled with these. Keep scrolling to see how they worked/happened & some specifics etc. LOL.
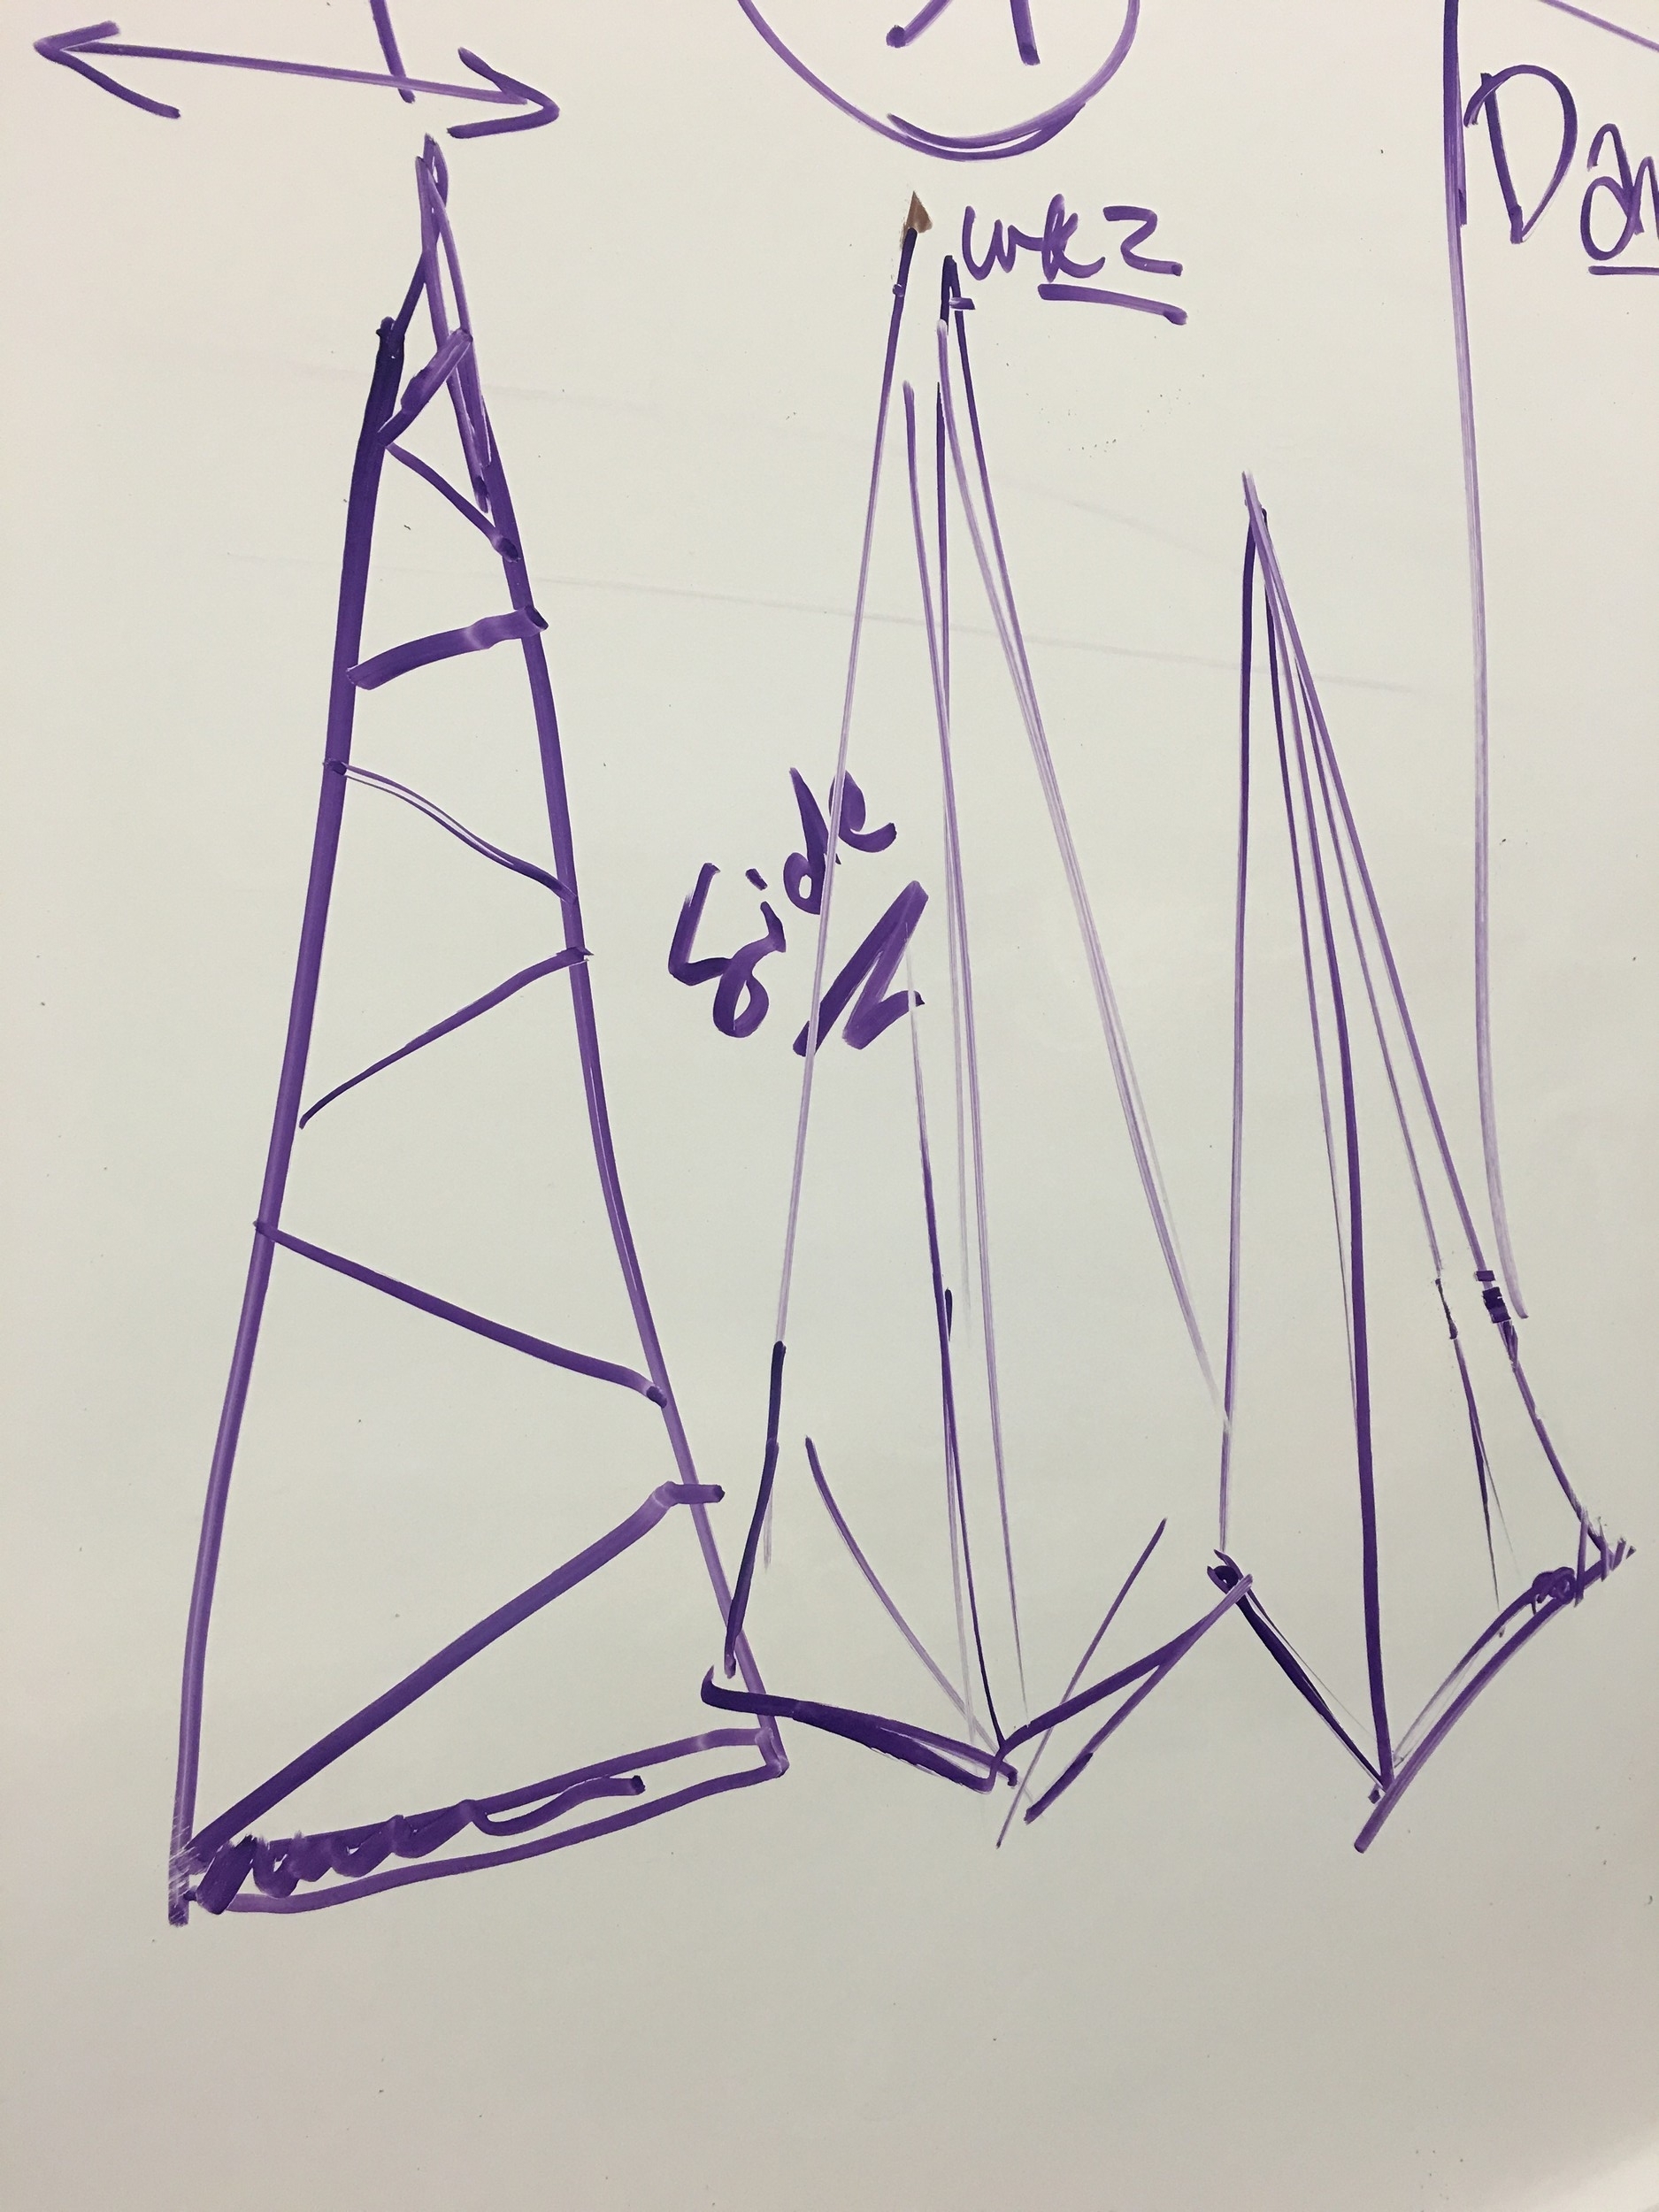
If you didn't know it, triangles are NOT easy to make! It took several smart brains to figure out the angles. With a little bit of a photo tour, you'll see them come into real life!


See what happens if you don't figure angles out right?

We cannot take full credit - Here was our inspiration! I screen shotted this from instagram in 2013 & I'm so glad I did. These appeared to be made out of metal. We chose to use wood, to keep cost down, since its a (4 week) short lived stage set. If you search The Big Jingle 2013 you'll find more images.
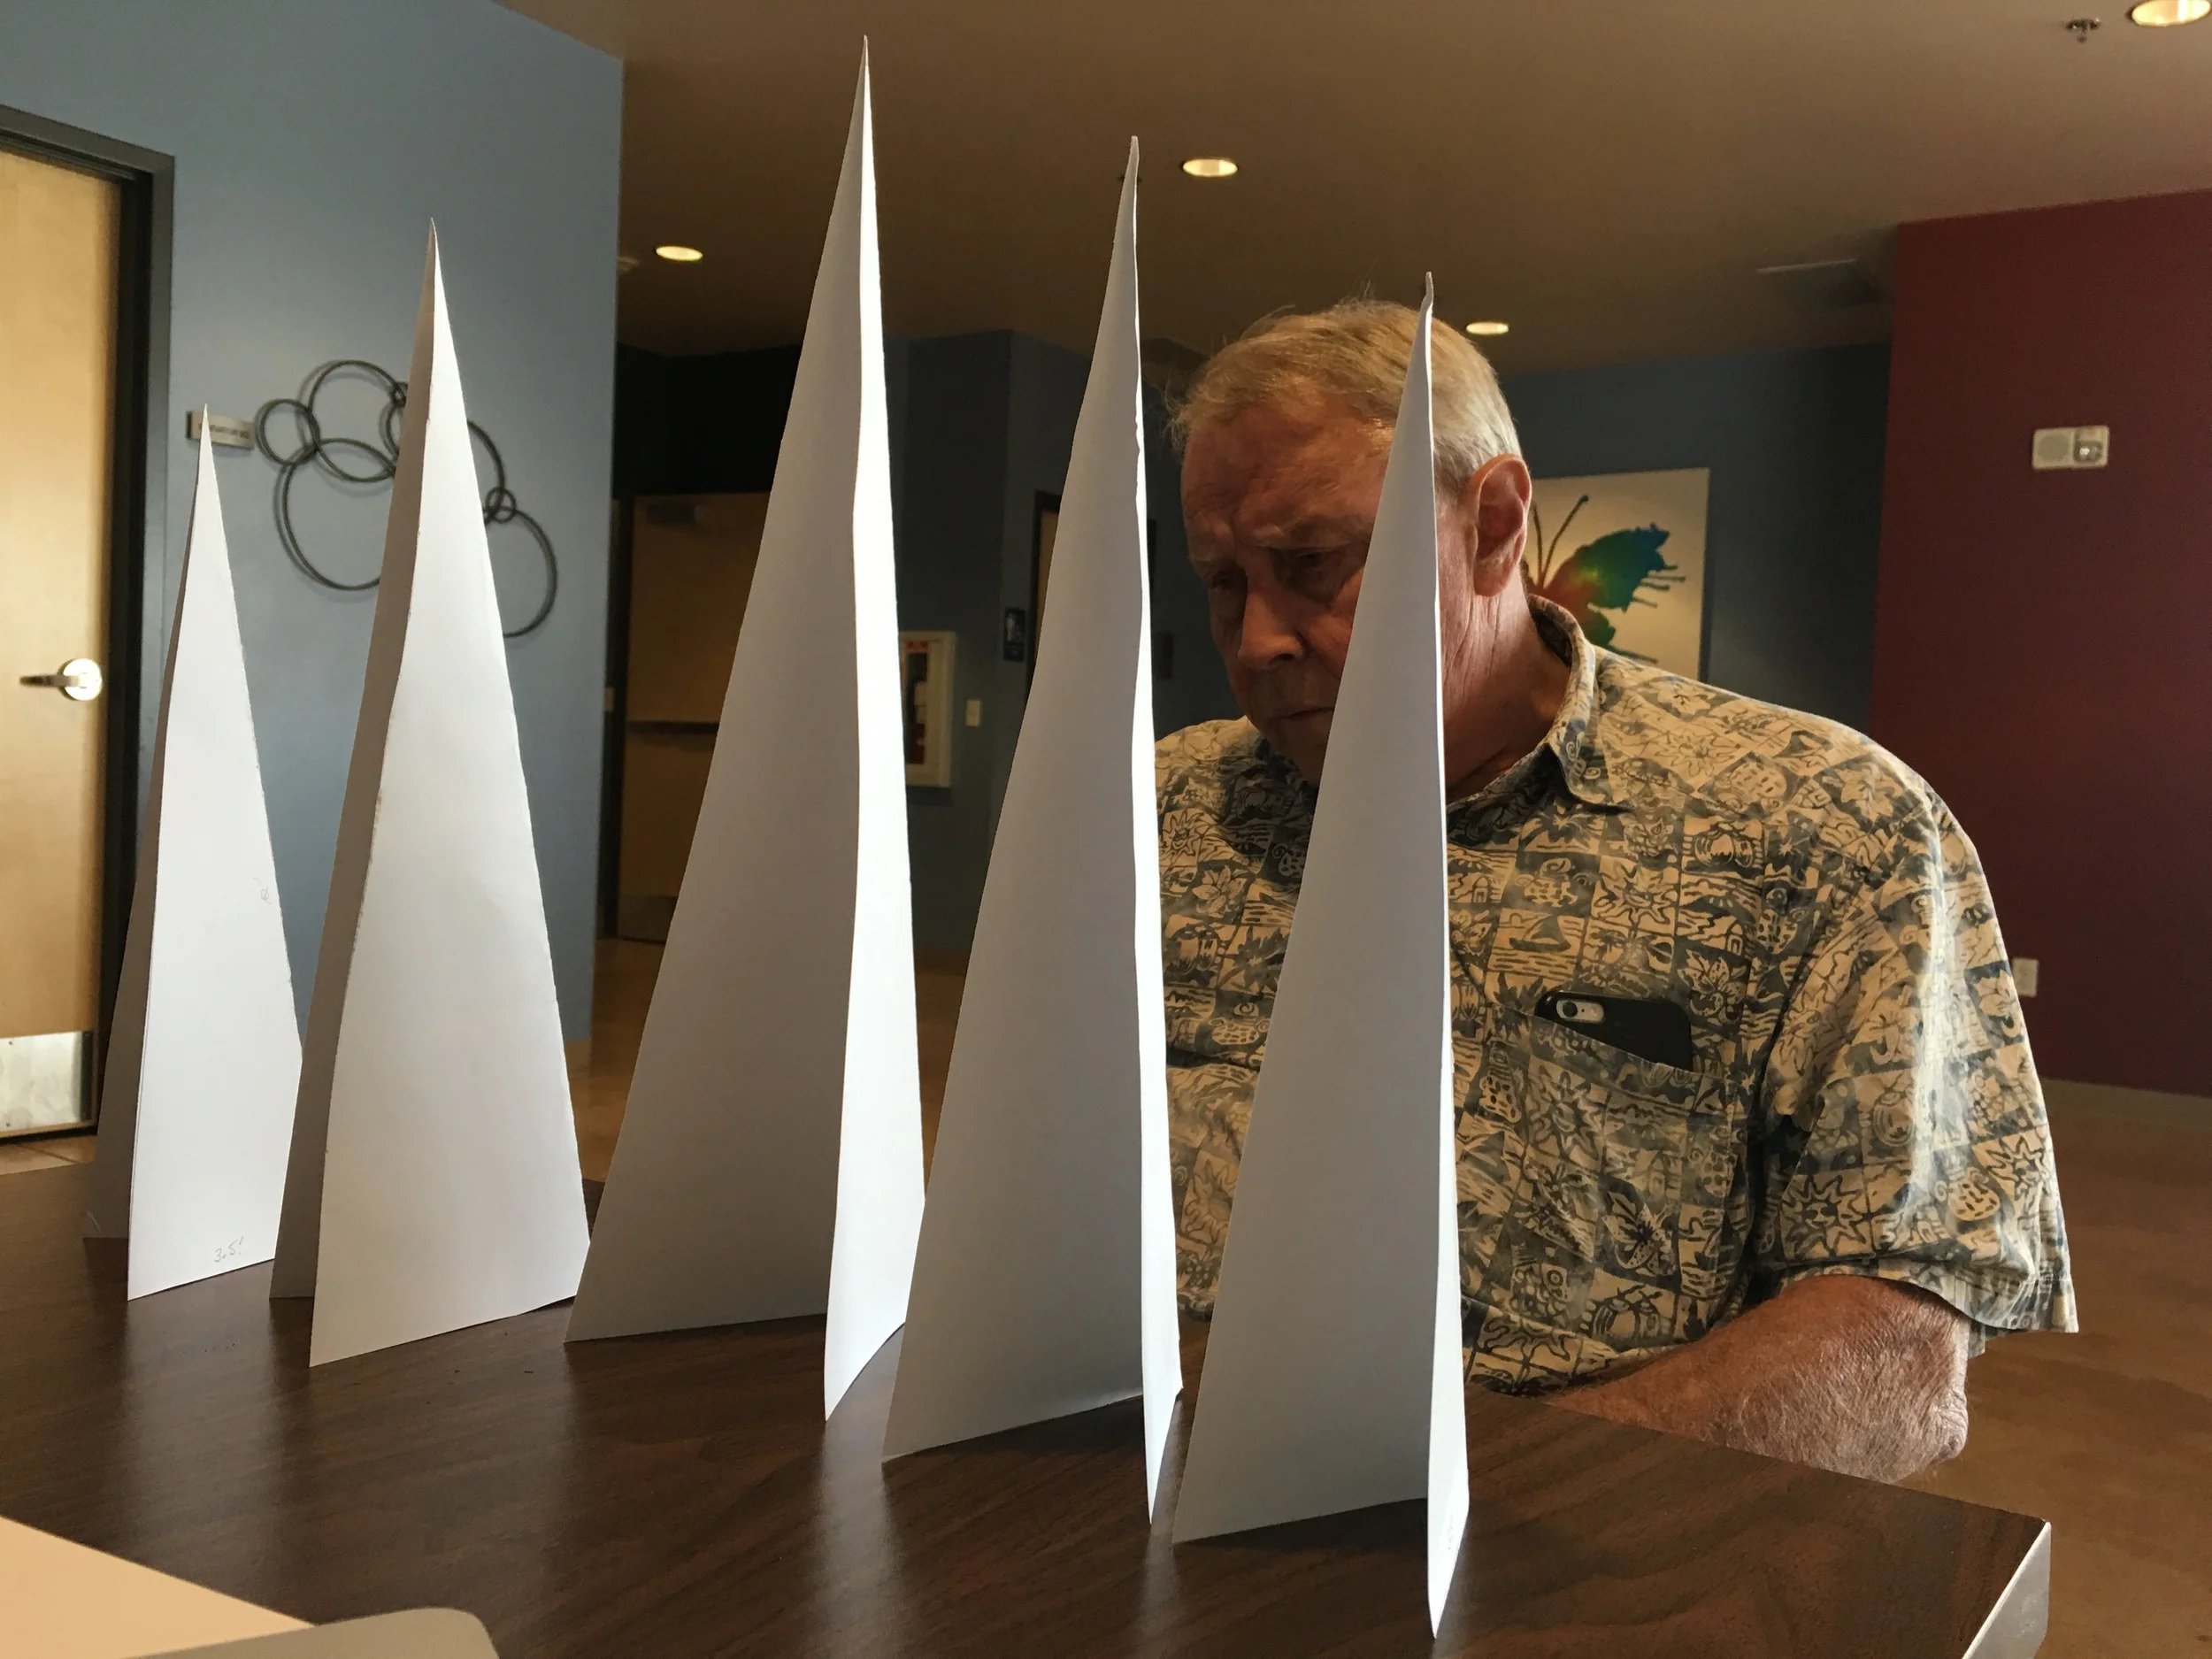
Next we've mocked up the future 16', 14', 12' models...here Larry is thinking hard about how to do these.
First table top sample. Nailed it! #microprops

Samples from the shop...

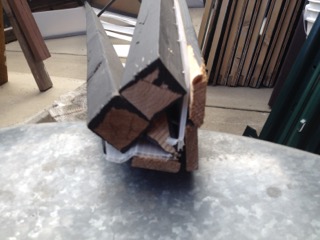
See the wooden base!

Unfinished edges
And now for delivery!

I love how you can see the scale next to a total grown up!

Light EM UP!


These also work great surrounding a center screen...


Now save this for next year, or the next year AND be sure to share pics with me & my team when you do make them! YES!!! GO!!!
UPDATE!!! Here are notes that we've sent to a lot of people wanting more information. Our tech director provided this info & more pictures. We hope it helps with finishing off these sweet trees! *thumbs up!*
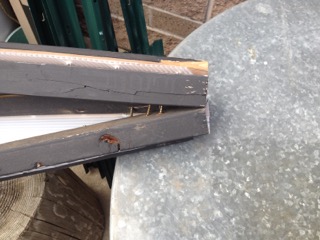
1. For the vertical boards, a combination of 2 X 2 and 1 X 2 were used. The 1 X 2 did help to secure the Coroplast to the 2 X 2. It also cover the edges of the Coroplast.

2. As you can see, we did not cover the Coroplast. The use of the 2 X 2 and 1 X 2 provides adequate cover for the edge of the Coroplast.
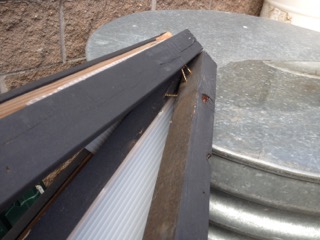
3. The boards are secured at the top with deck screws. and secured to each other. Larry did not use anything fancy to secure the boards to each other. I believe the three photos below of the top will assist you in understanding how to secure the boards to each other.